Access Policies
- Updated on Jan 10, 2024
- 12 minutes to read
-
Contributors


Overview
In Banyan, an Access Policy enforces which users have access to protected services. Access policies are defined by the following:
- who (what role) can access a service,
- the required Trust Level, and
- additional configurations (that pertain to the type of policy an admin is creating).
Once an access policy is saved, it can be applied to the corresponding service type (e.g., a web policy can be applied to a web service). One policy can apply to multiple services.
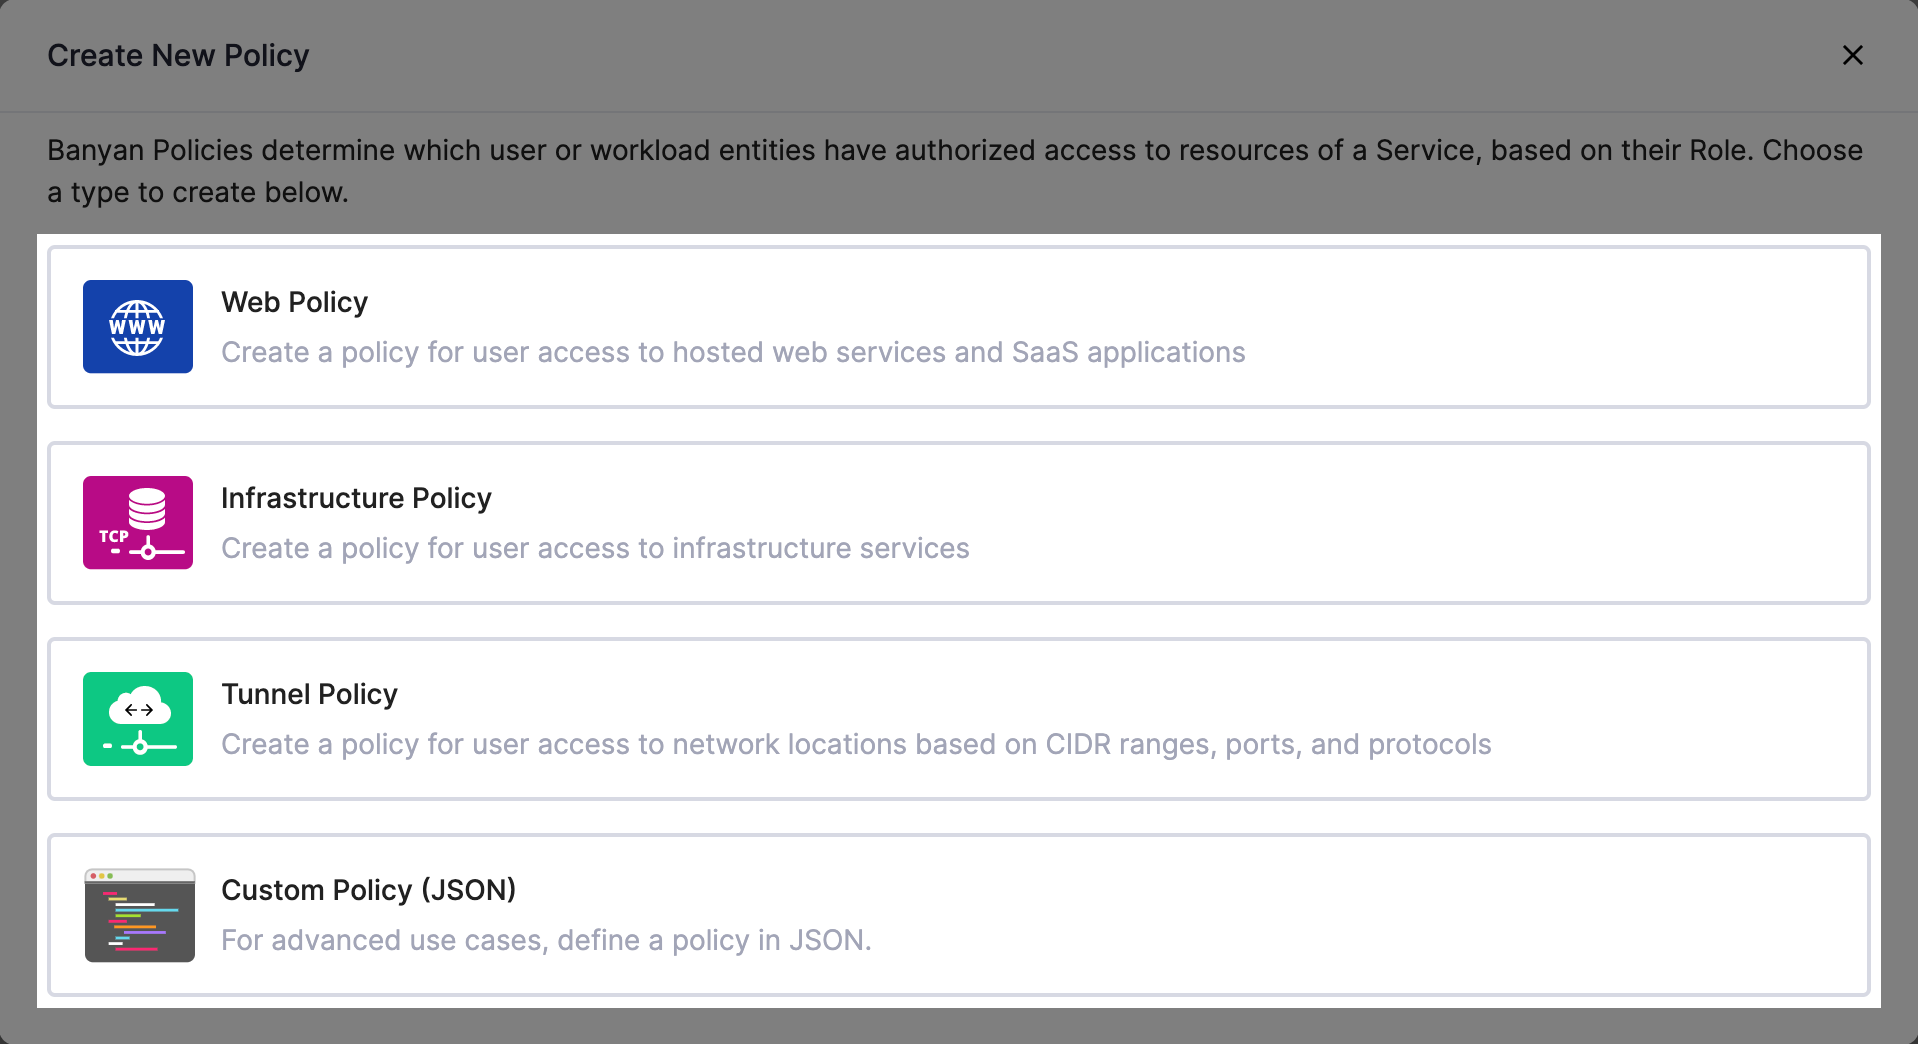
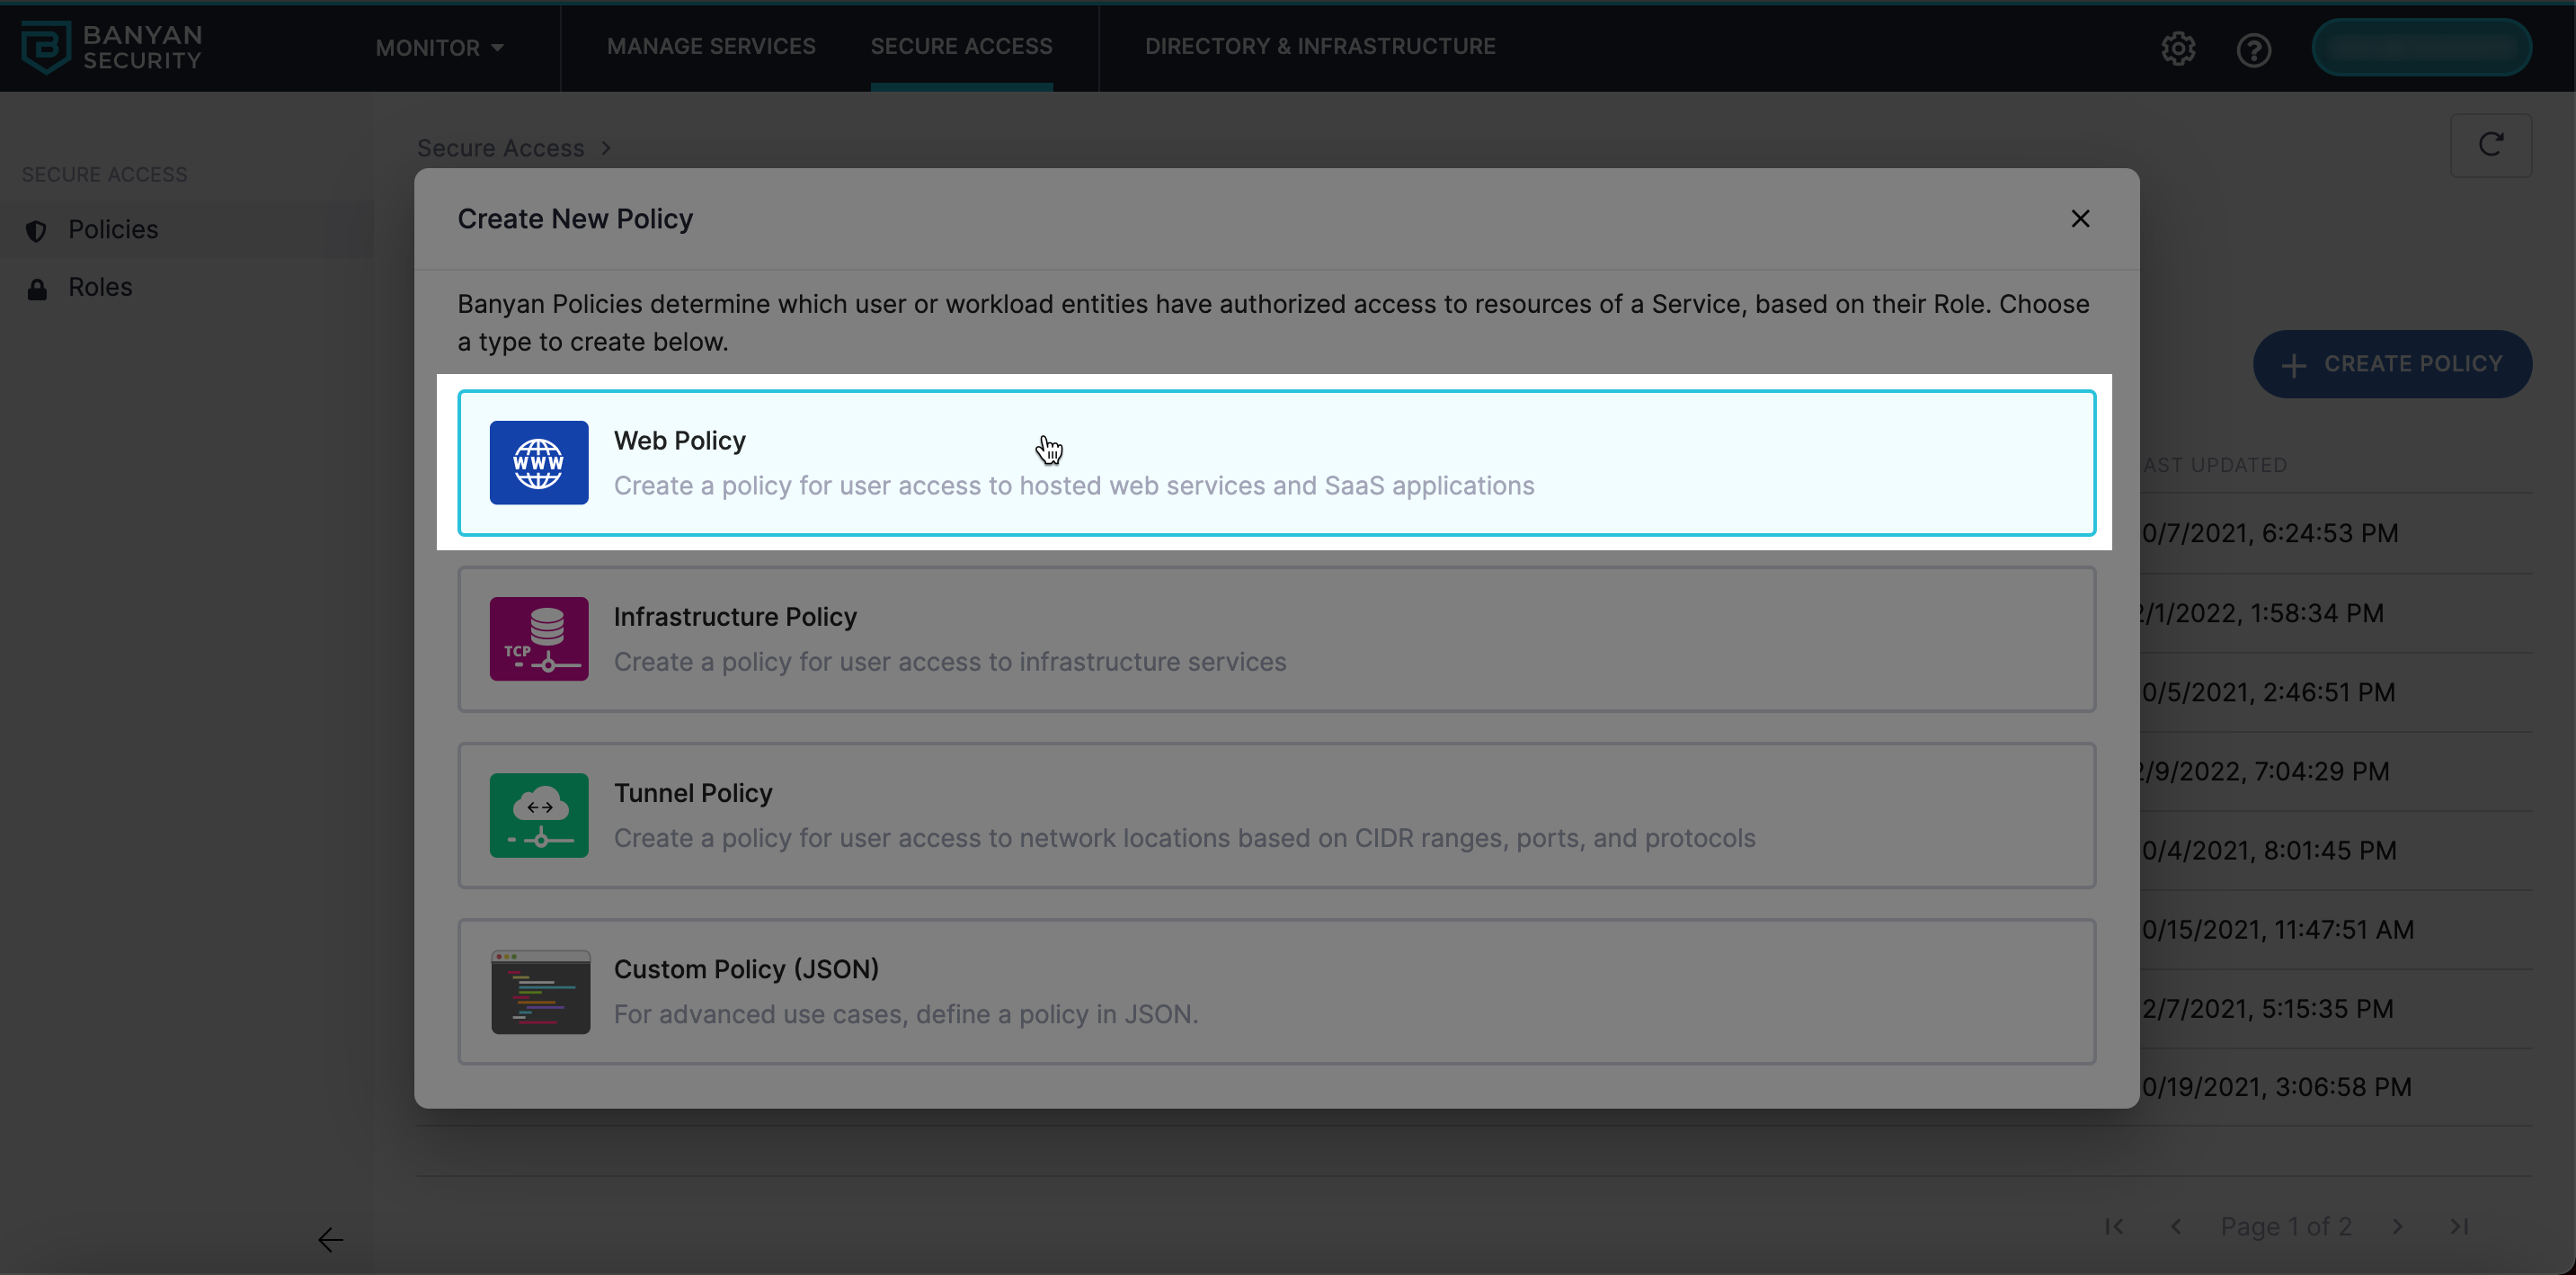
Types of Access Policies
Banyan supports the following types of access policies:
- Web Policies – for access to Hosted Websites and/or SaaS Applications
- Infrastructure Policies – for access to Infrastructure services
- Tunnel Policies - for access to a Service Tunnels
- Custom Policies – for advanced access scenarios, defined in JSON.
Enforcement Modes
Policies have two modes: Permissive and Enforcing. Permissive mode allows any user to access a given service. However, Banyan will indicate (in the logs) whether the user would have been prevented from accessing the service if the policy were to be enforced. In Enforcing mode, the policy determines which users are allowed access; any user who does not meet the defined criteria is denied access.
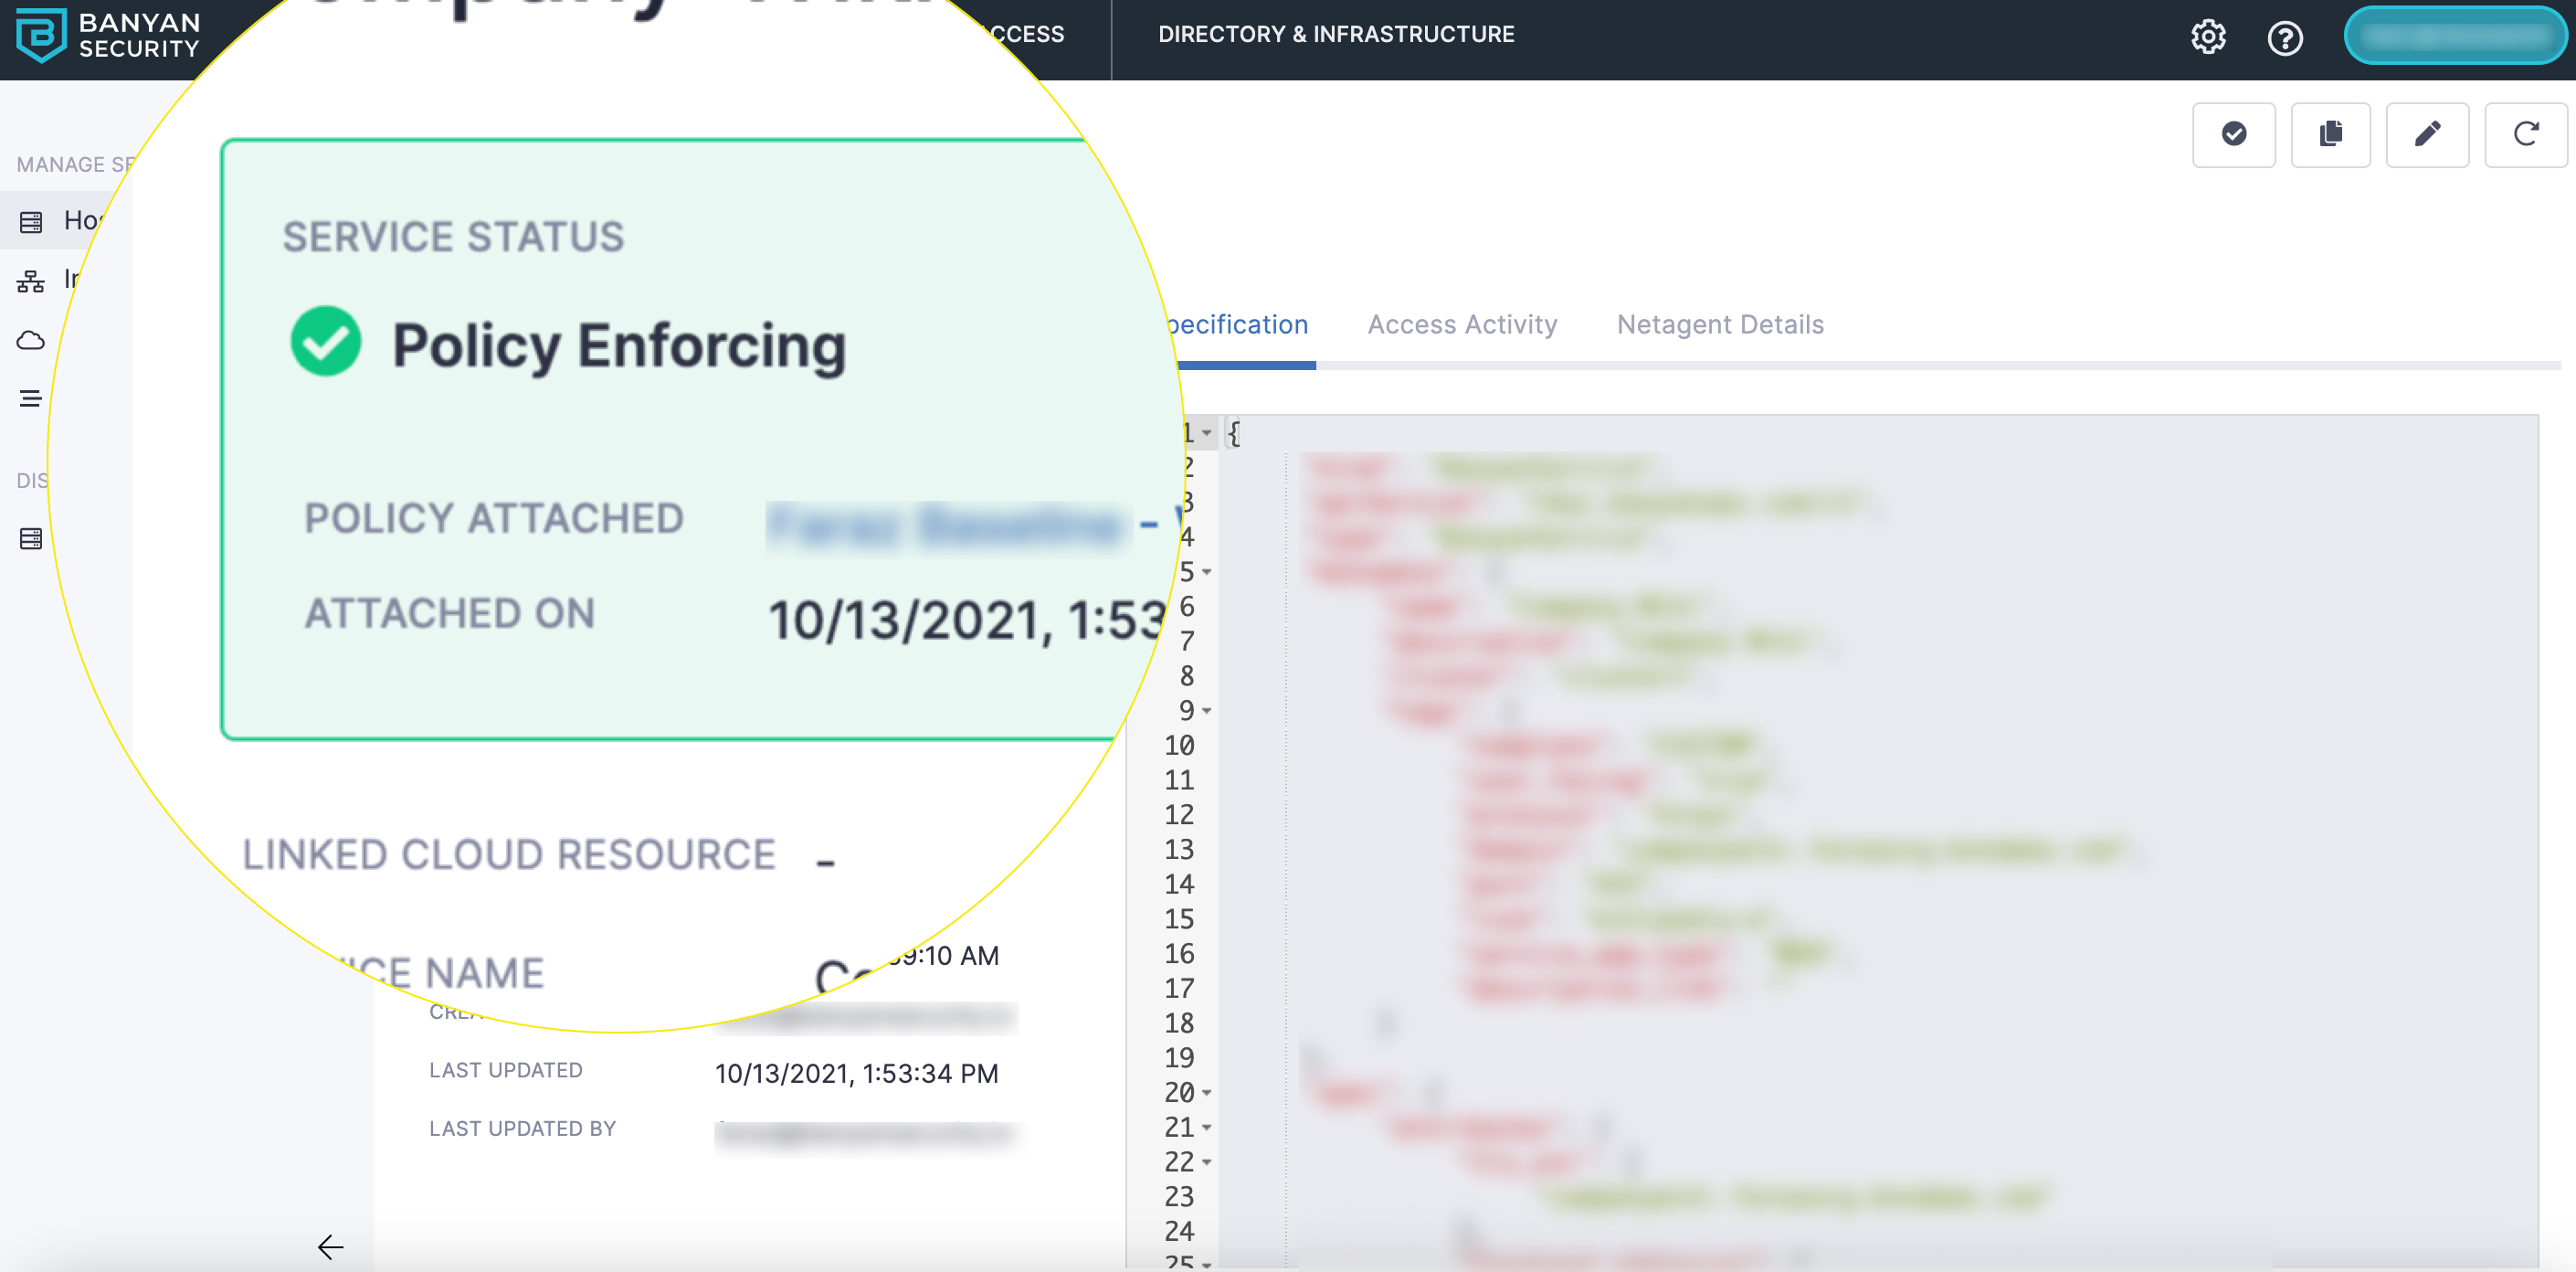
A service's status will indicate whether its policy is in permissive or enforcing mode
Details
The subsequent sections provide an overview of each policy type, and lay out the steps required to create each type of policy.
Web Policies
Admins can use web policies to define and segment user access to hosted web services based on roles, trust level, and website paths through an Access Tier. Each web policy is assigned to a hosted web service, and one web policy can apply to multiple hosted web services.
A web policy must have at least one access group, but there is no upper limit to the number of access groups that can be contained within a web policy. Access groups within one web policy are additive (that is, they stack), but any rules denying access take precedence over rules allowing access.
For example, here are two access groups from one web policy:
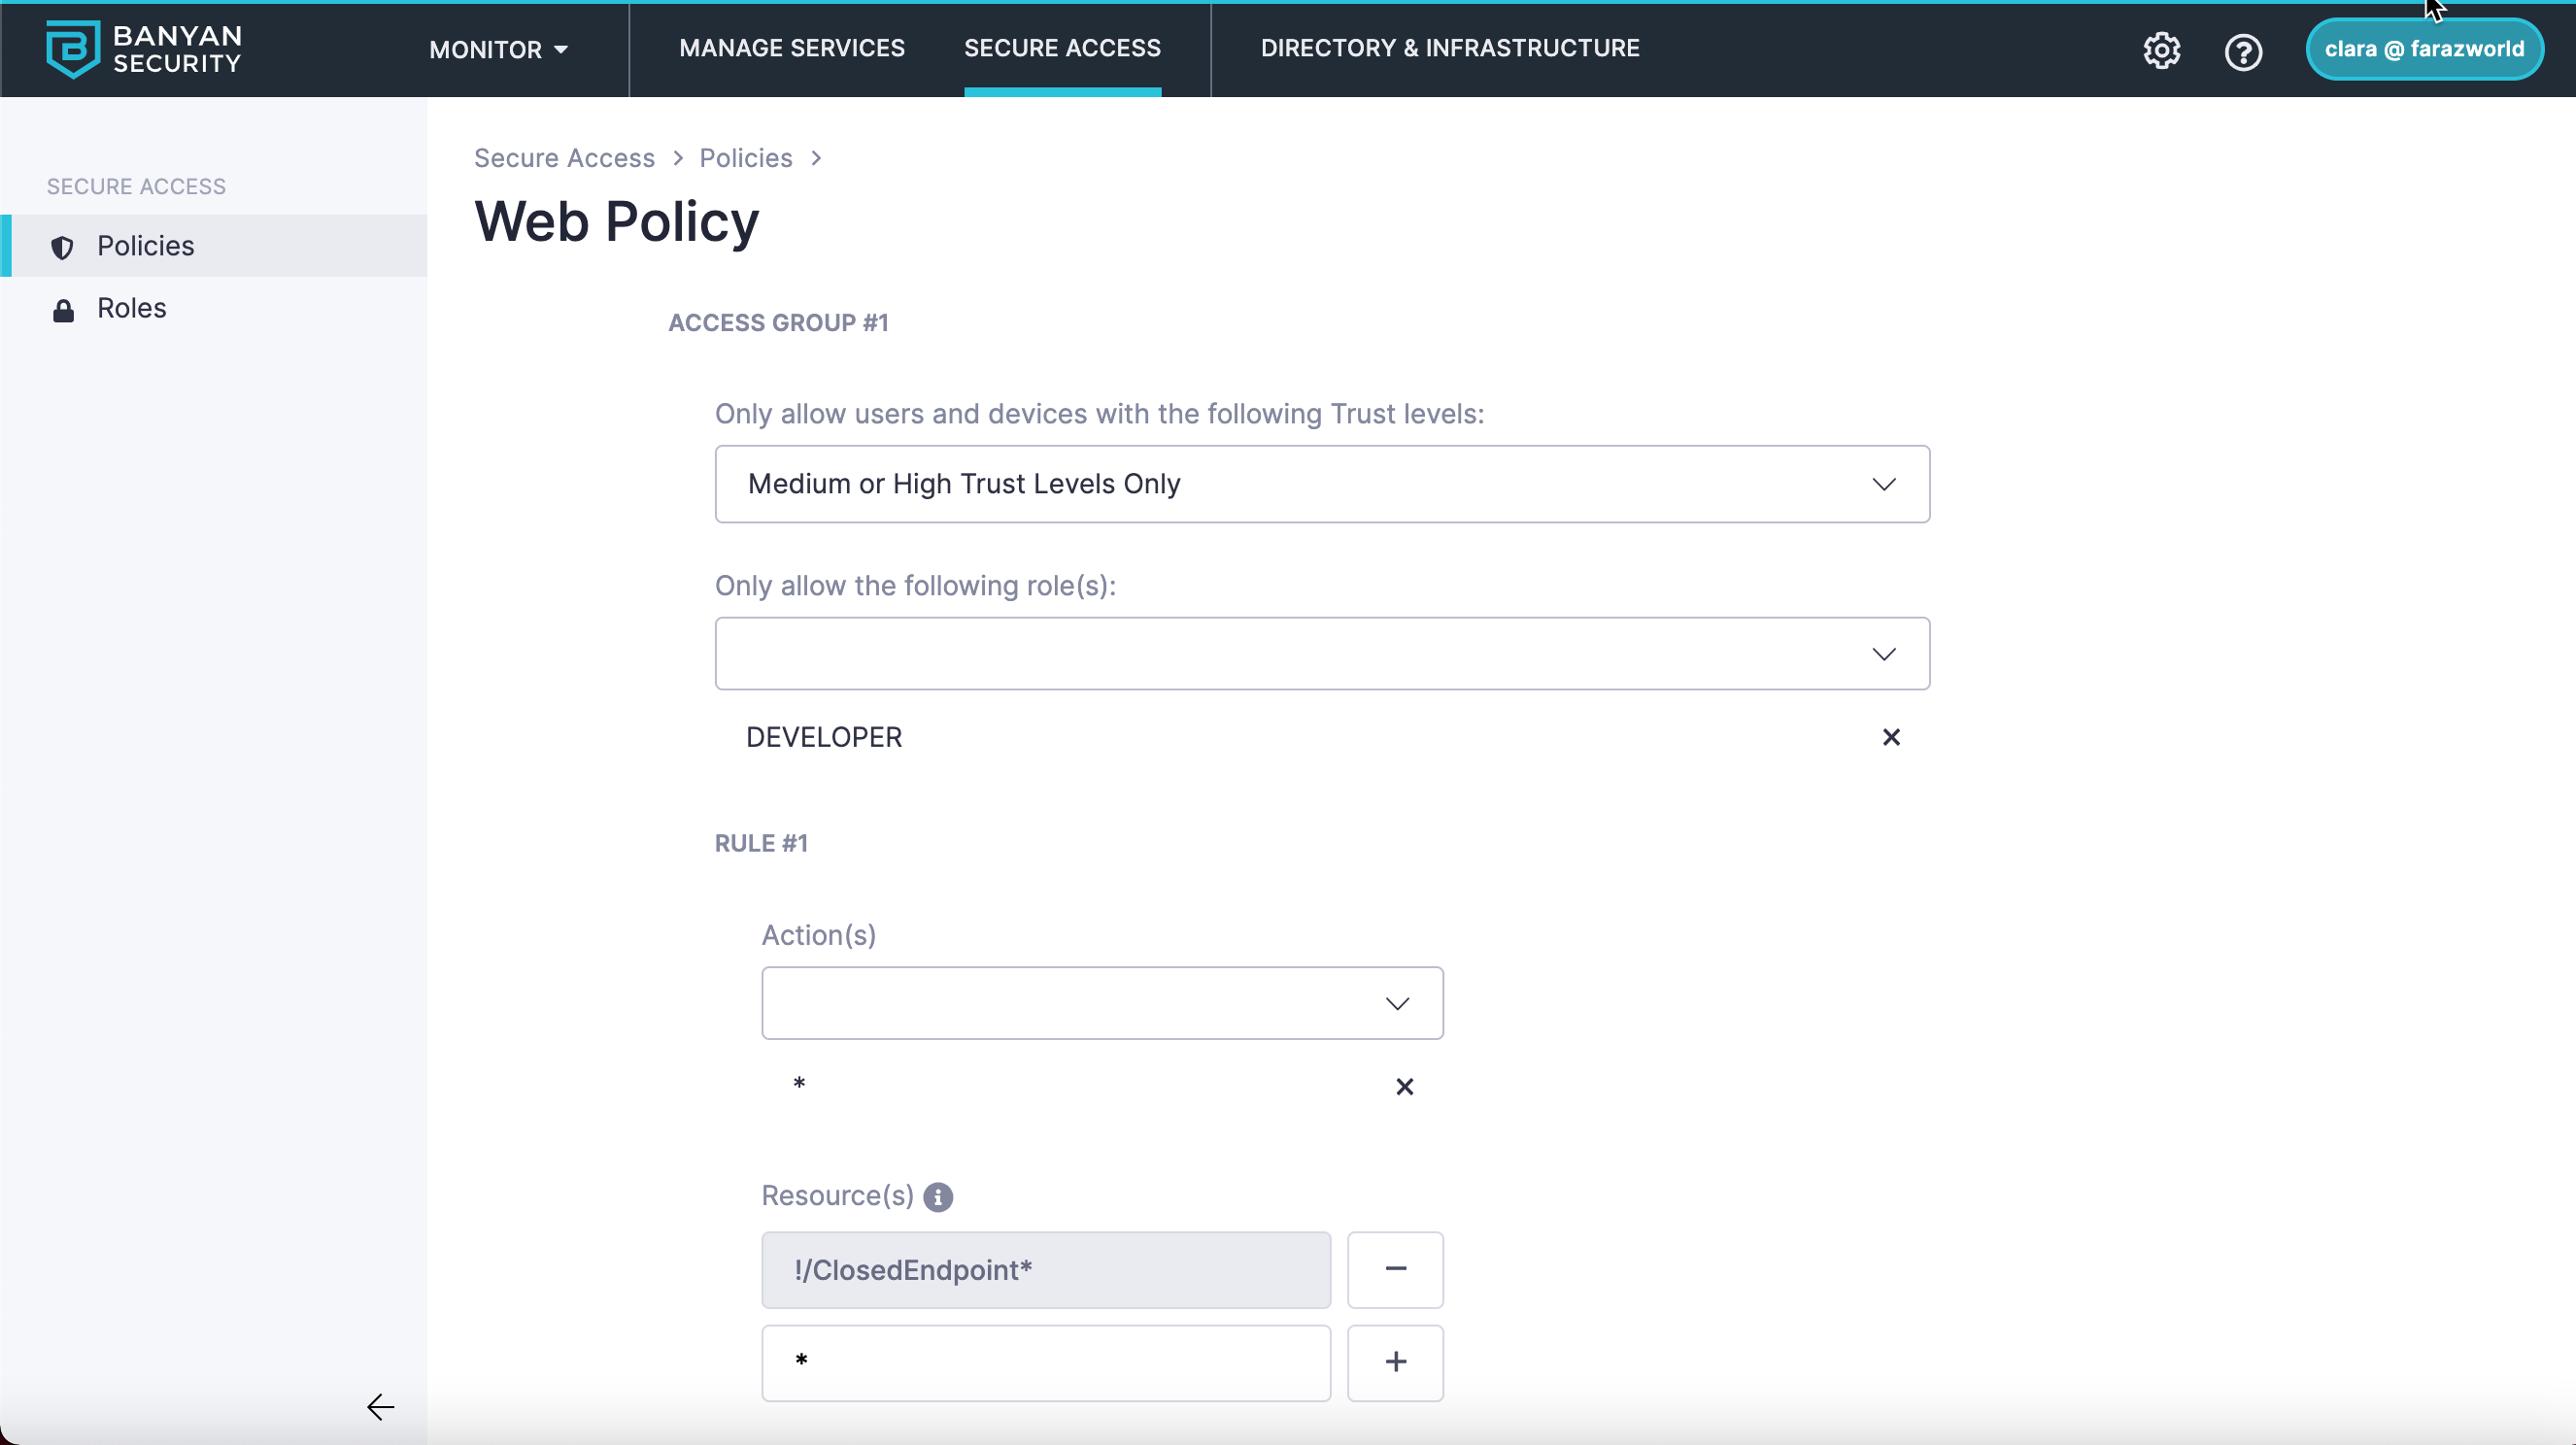
The above policy's access group shows denied access to a path
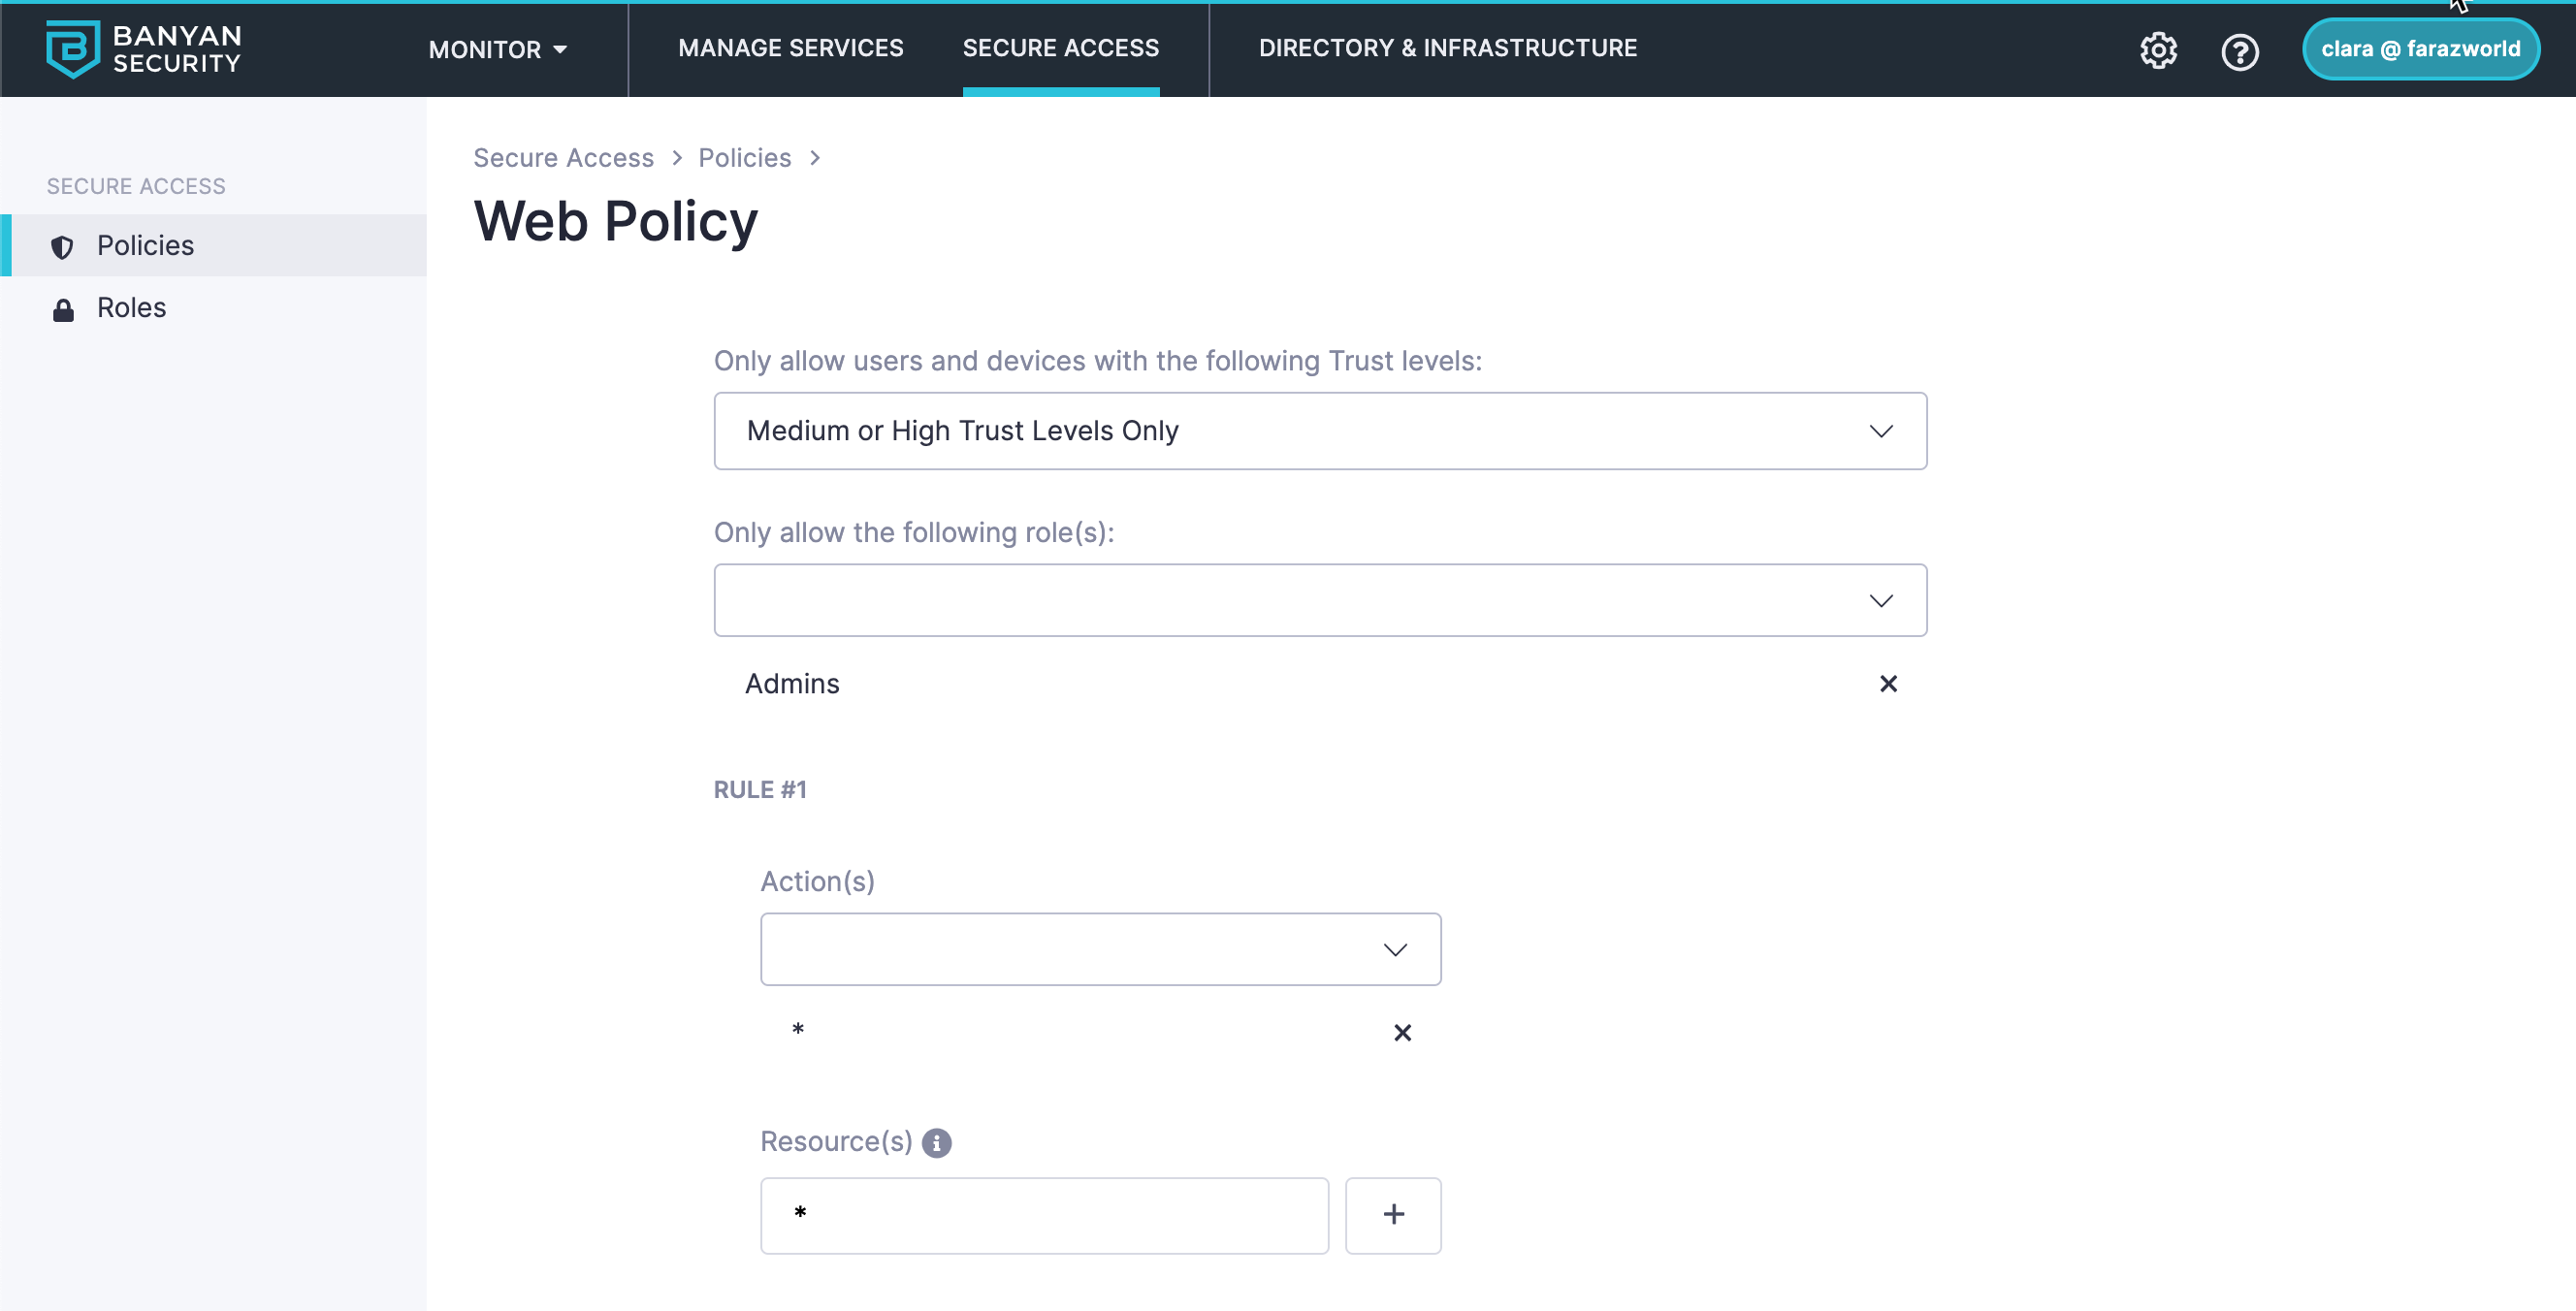
The above policy's access group shows access to all paths, denoted by the asterisk
If a user meets the role Admins or DEVELOPER with a Medium or High Trust Level, then they will be allowed to access all paths of the hosted web service. Users will the role DEVELOPER will be denied when attempting to access the path: /ClosedEndpoint.
Create a Web Policy
To create a Web Policy, complete the following steps:
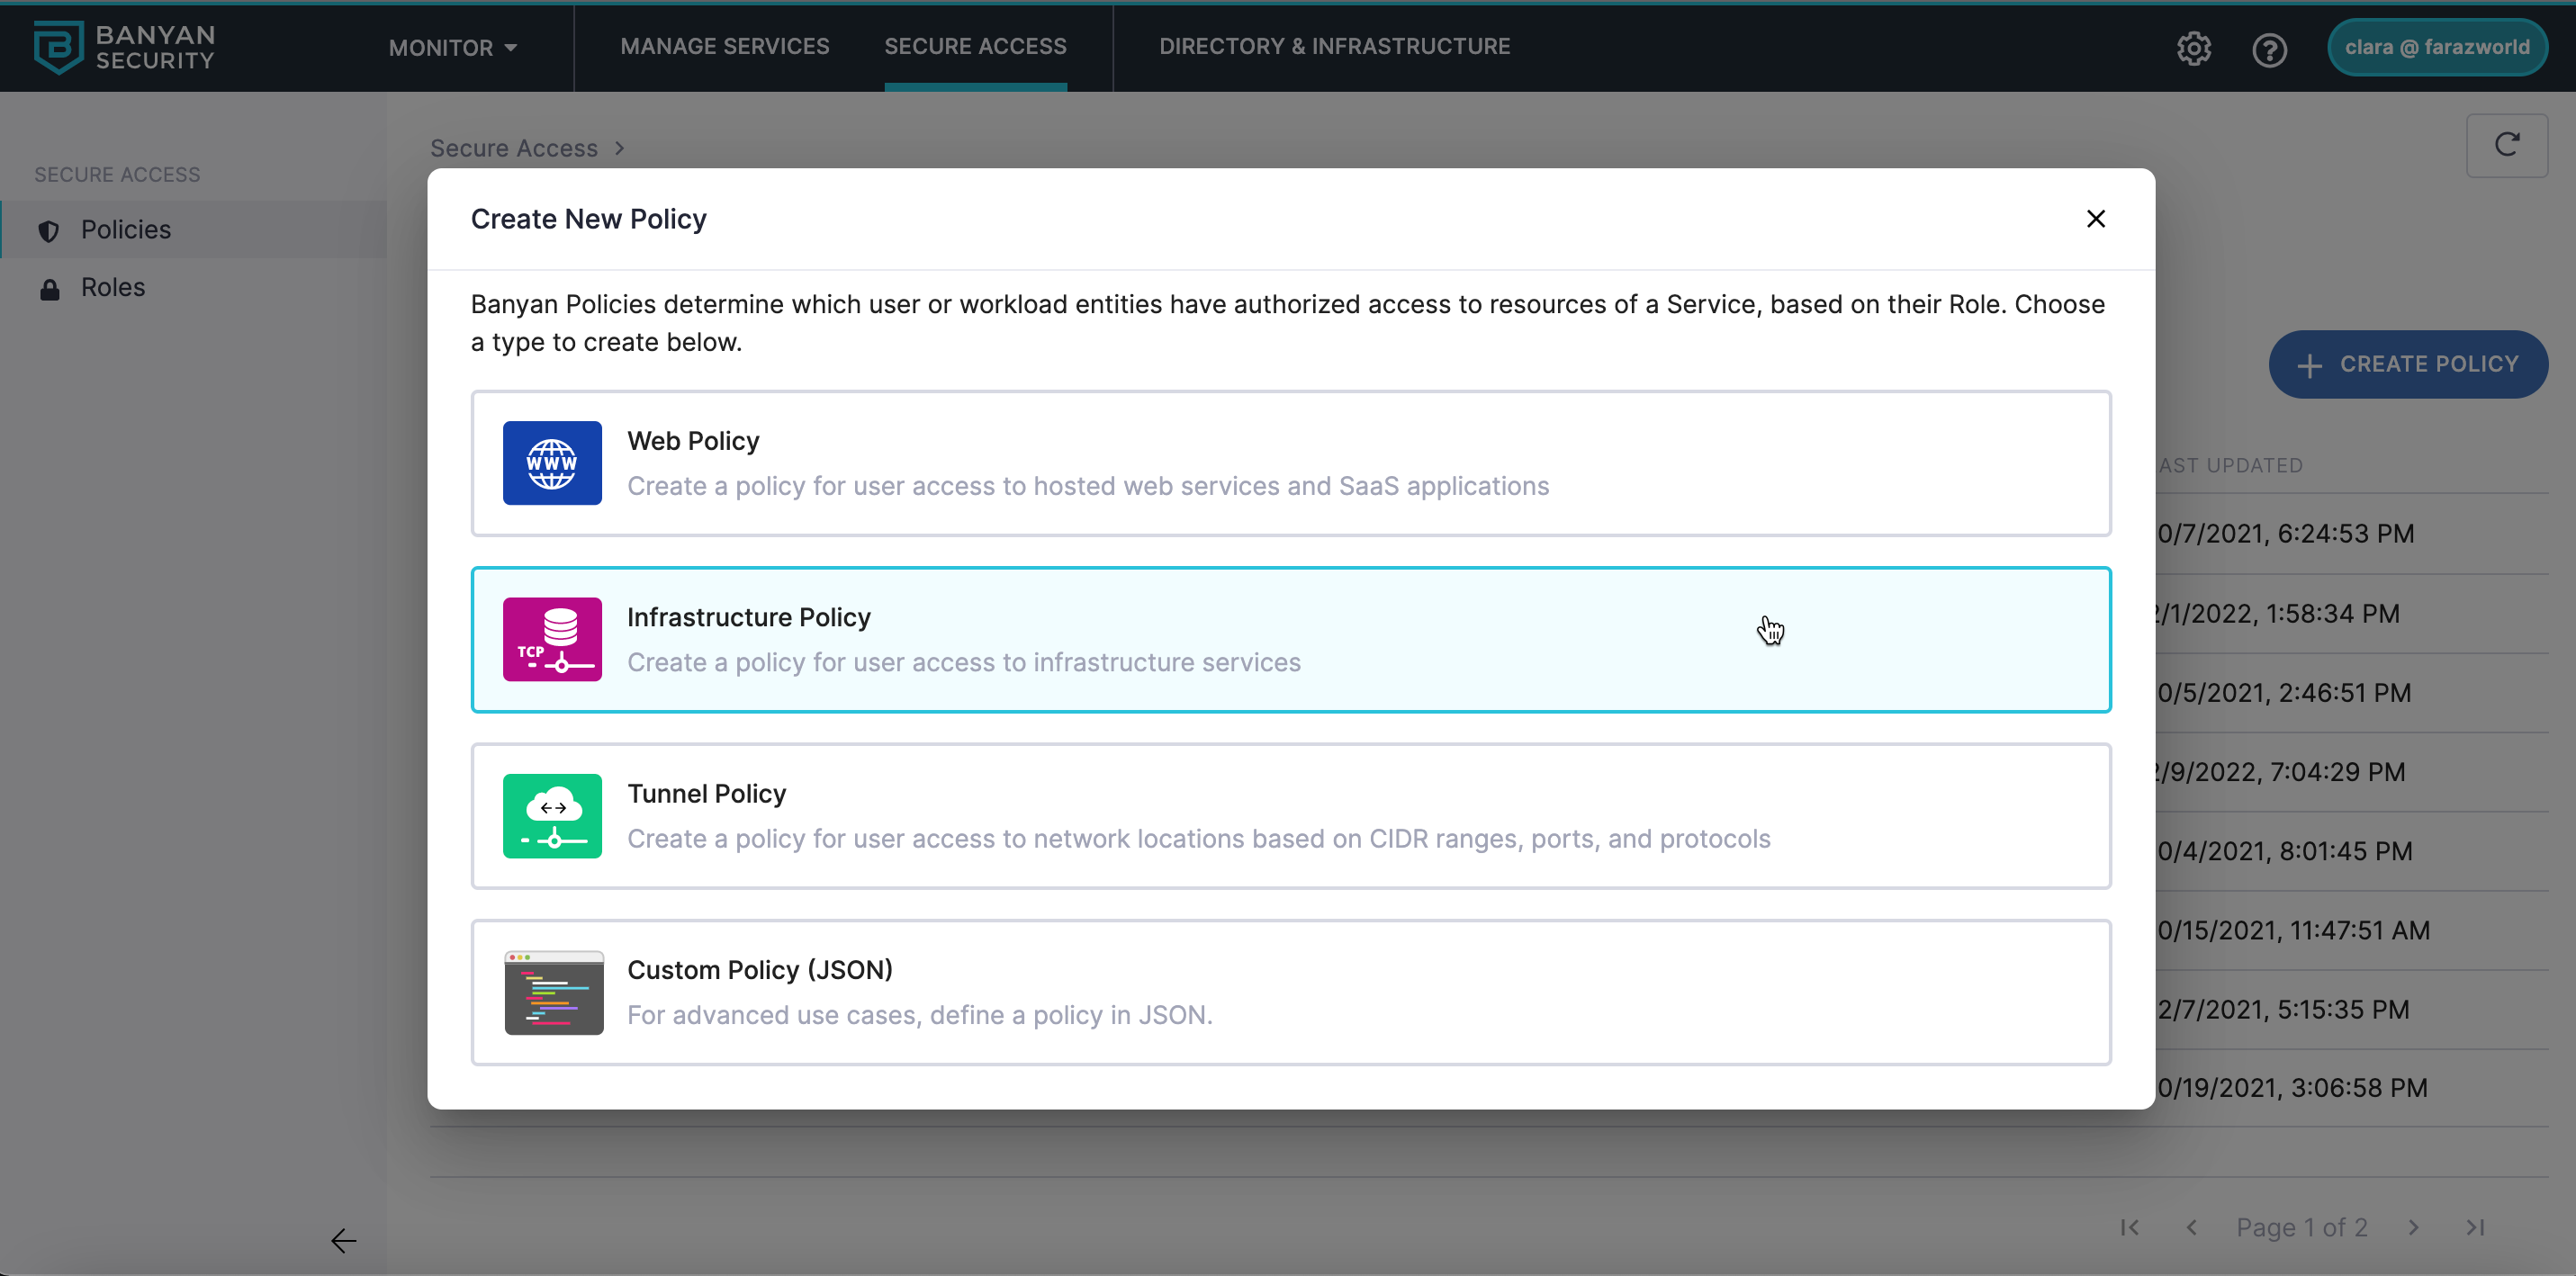
1. Navigate from Private Access > Access Policies, and then select + Create Policy.
2. Select the Web Policy template.
3. Under Policy Details, configure your Policy Name and Description.
4. Complete the following steps for each Access Group:
4.1 Select the Role(s) applicable for the access being defined.
4.2 Select the appropriate Trust Level.
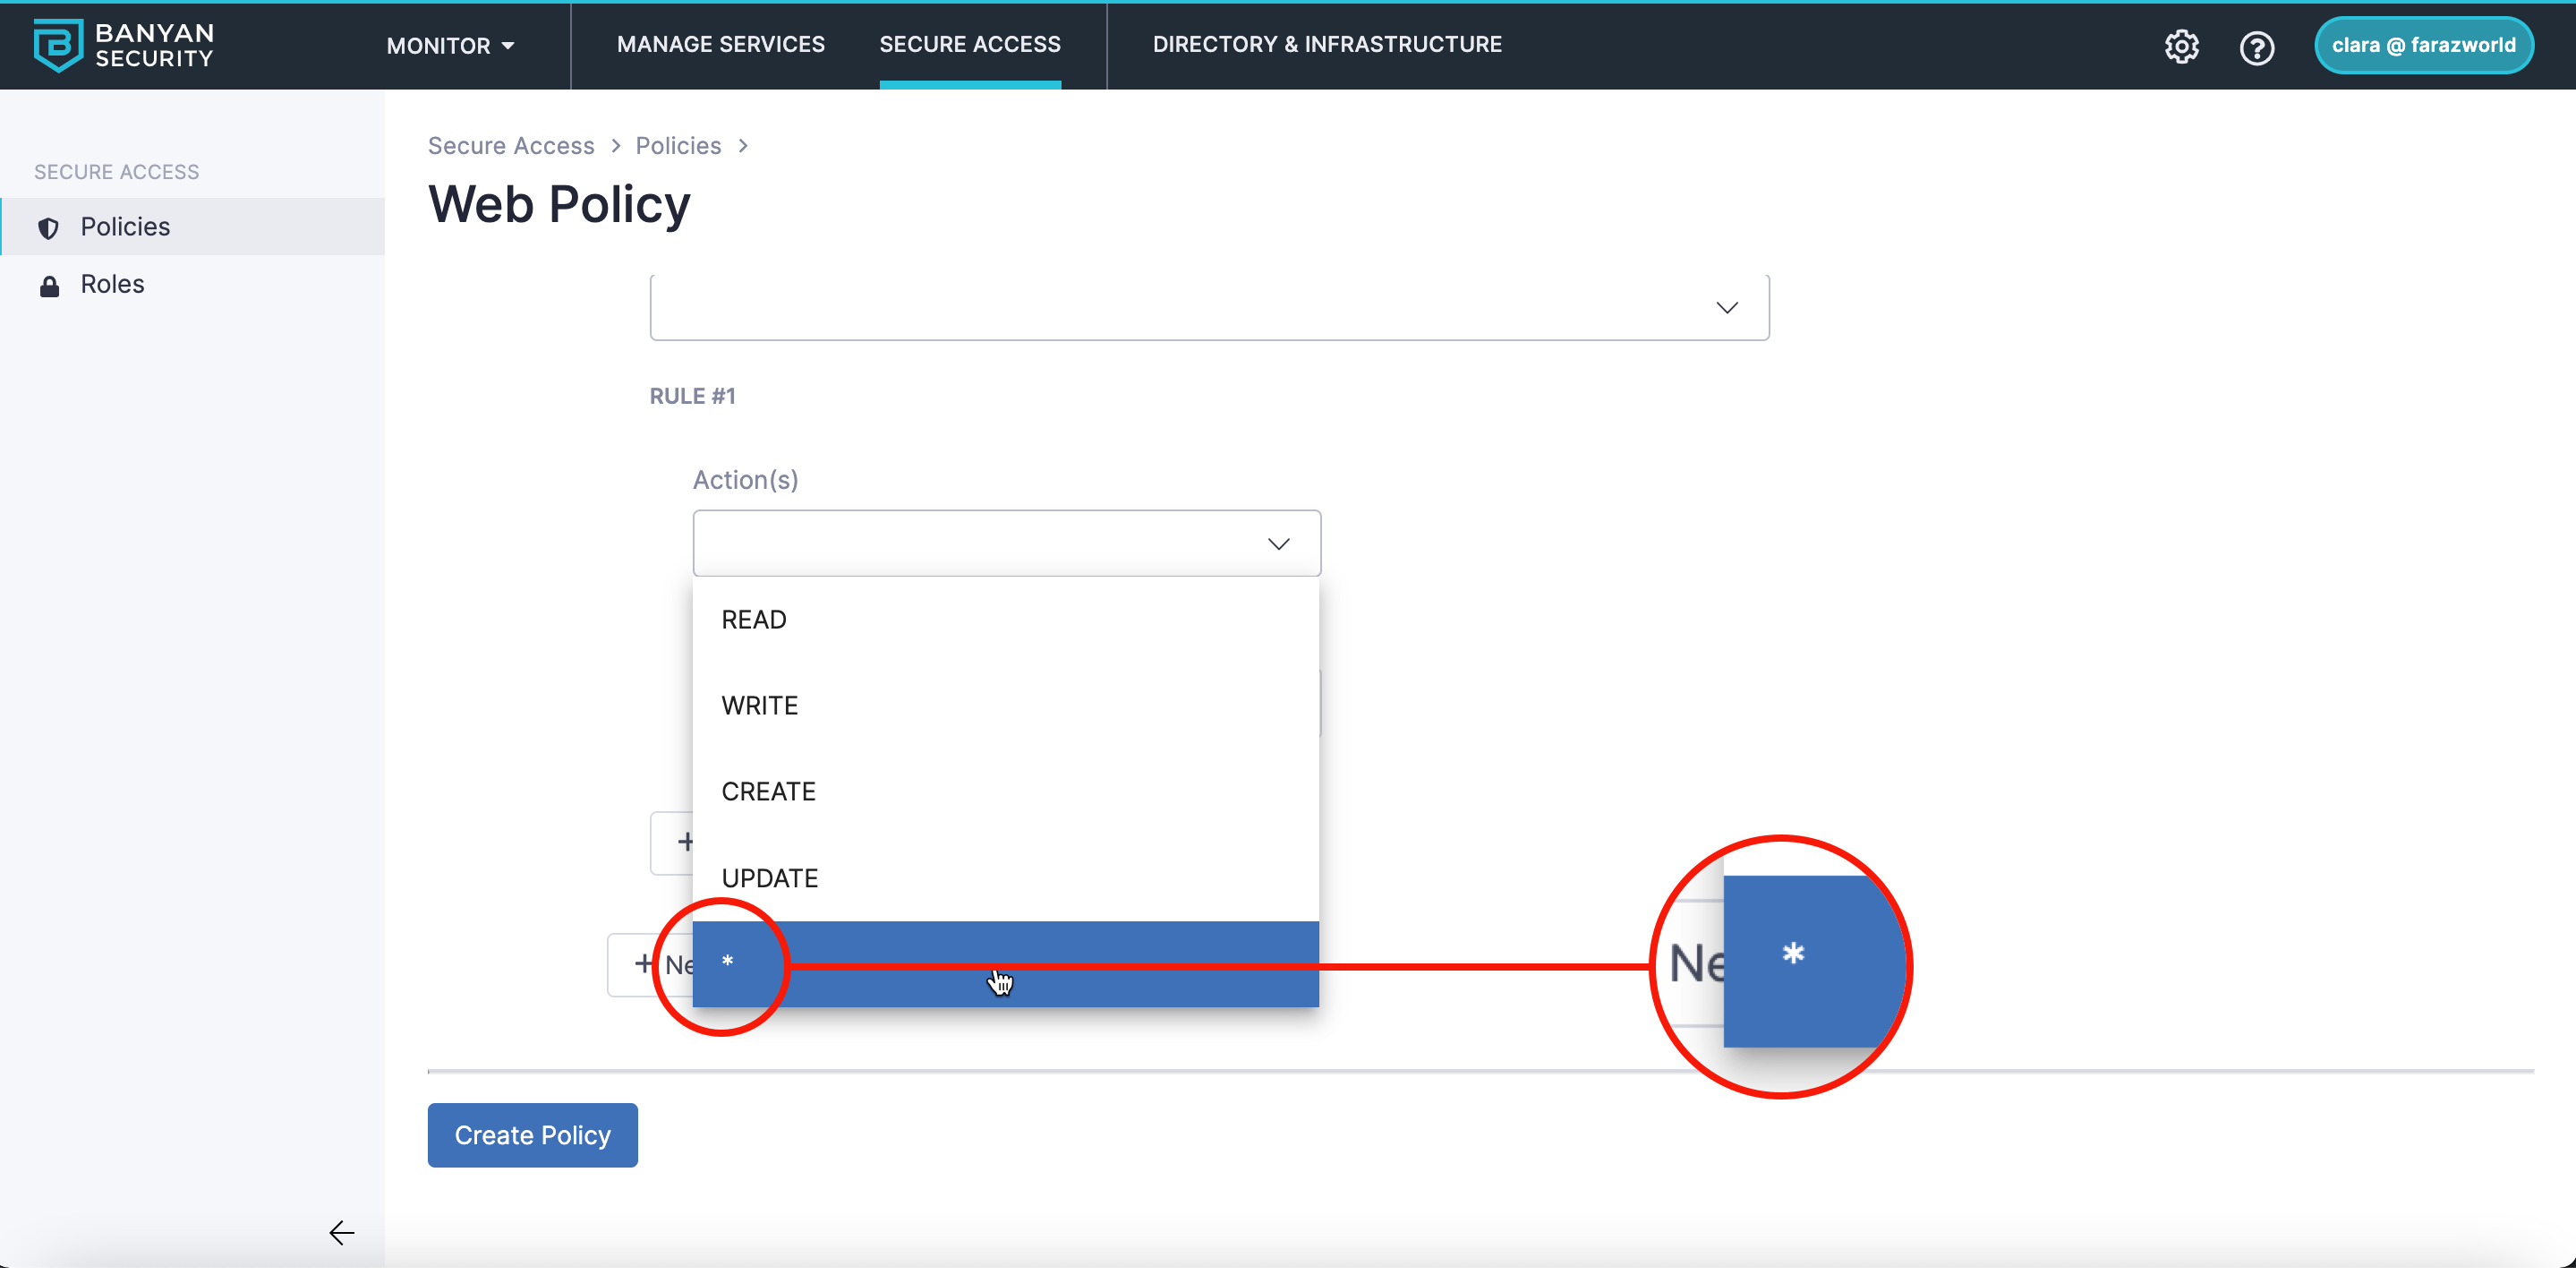
5. Complete the following steps for each Rule:
5.1 Under Action(s), select the action(s) that are allowed for your Rule.
- Selecting an asterisk (
*) indicates that “all actions are allowed”.
5.2 Under Resource(s), define the resource(s) that correspond to your Rule.
-
Using an asterisk (
*) indicates “any characters are allowed for the resource definition”. -
Using an exclamation point (
!) in the beginning of resource definition indicates “access to the corresponding resource is denied.””
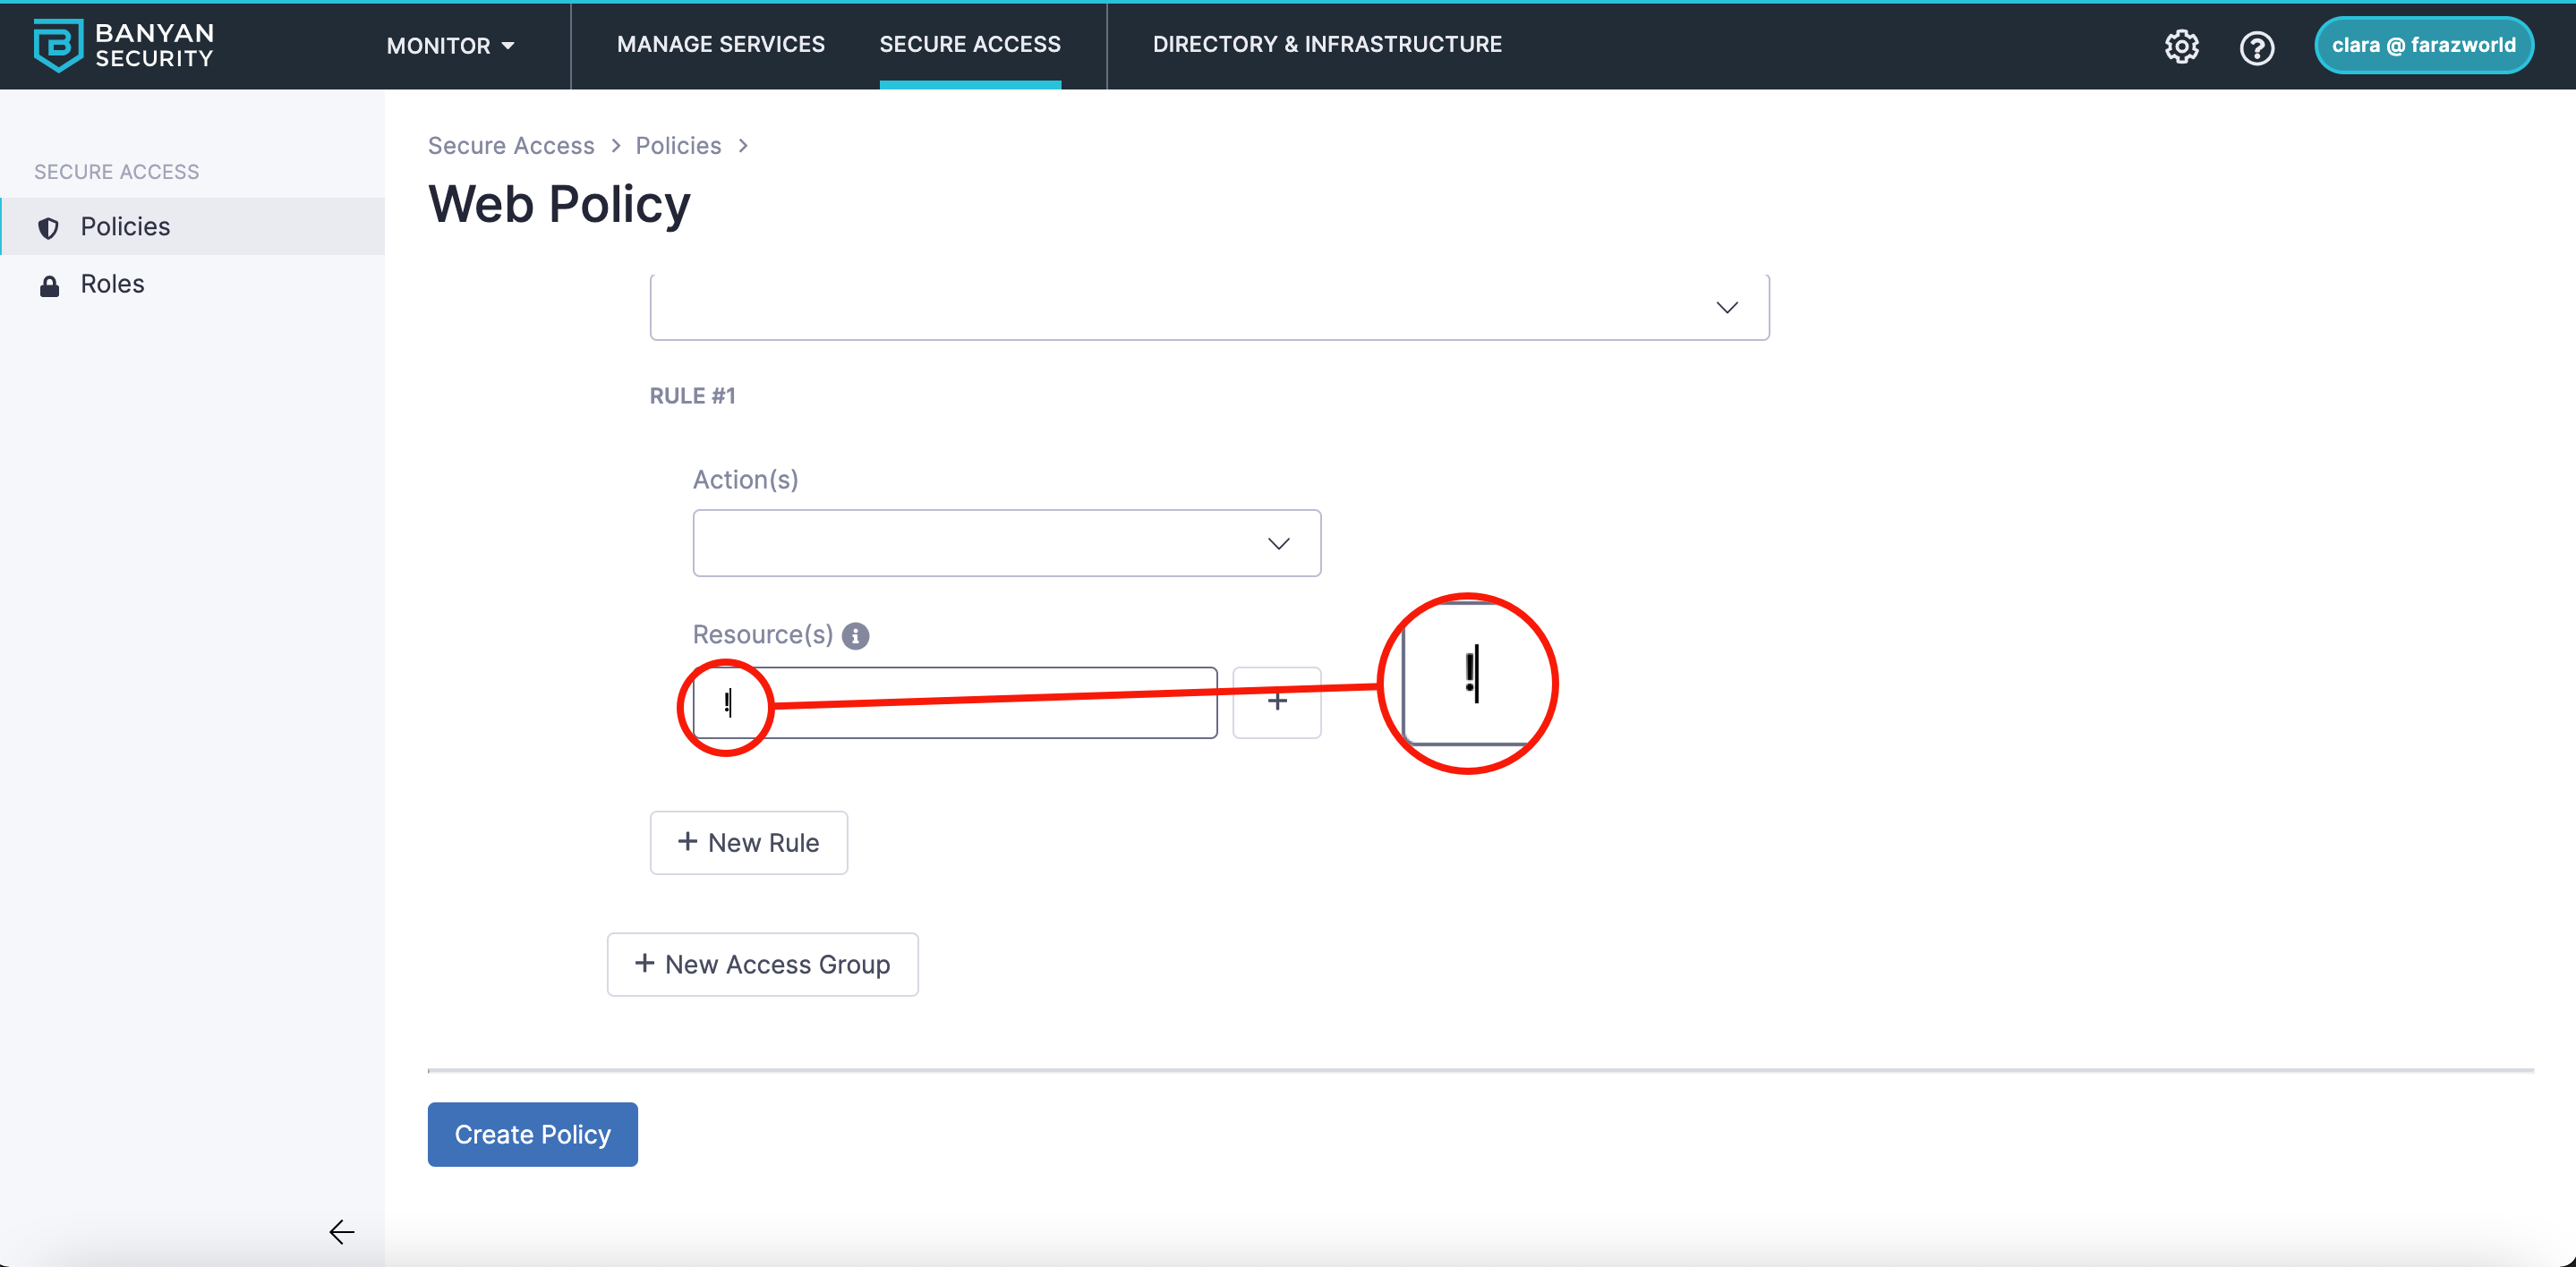
Note: Resource definition must begin with an asterisk (*), an exclamation point (!), or a backslash (/).
Rules overview
Rules can be characterized as Layer 7 network definitions for a hosted web service. Layer 7 network definitions allow a website to supply paths so that a website URI can resemble the following:
<URI>/<endpoint_1>/<endpoint_2>/*
Rules provide control over the path examples above. Rules consist of Action(s) and Resource(s). When rules are configured within a policy, the policy becomes a “deny by default.” A rule must then be defined in order to override the default and grant access to each resource behind a hosted website.
Actions overview
These are the current supported Actions (by protocol):
| Protocol | Protocol Action | Rule Action (Banyan) |
|---|---|---|
| HTTP | GET | READ |
| POST | CREATE | |
| PUT | UPDATE | |
| PATCH | UPDATE | |
| DELETE | DELETE | |
| READ | READ | |
| CONNECT | UPDATE | |
| OPTIONS | READ | |
| TRACE | READ |
Resources overview
Resources map to syntax expected past the URI of the hosted website. All resource strings need to start with one of the following:
*indicating “any resource string”/indicating “the start of a path”!indicating “deny the following path”
The resource strings must match the paths hosted by the website (this includes capitalization). The asterisk (*) character provides a wildcard function for path strings and can be used in any part of the string.
Infrastructure Policies
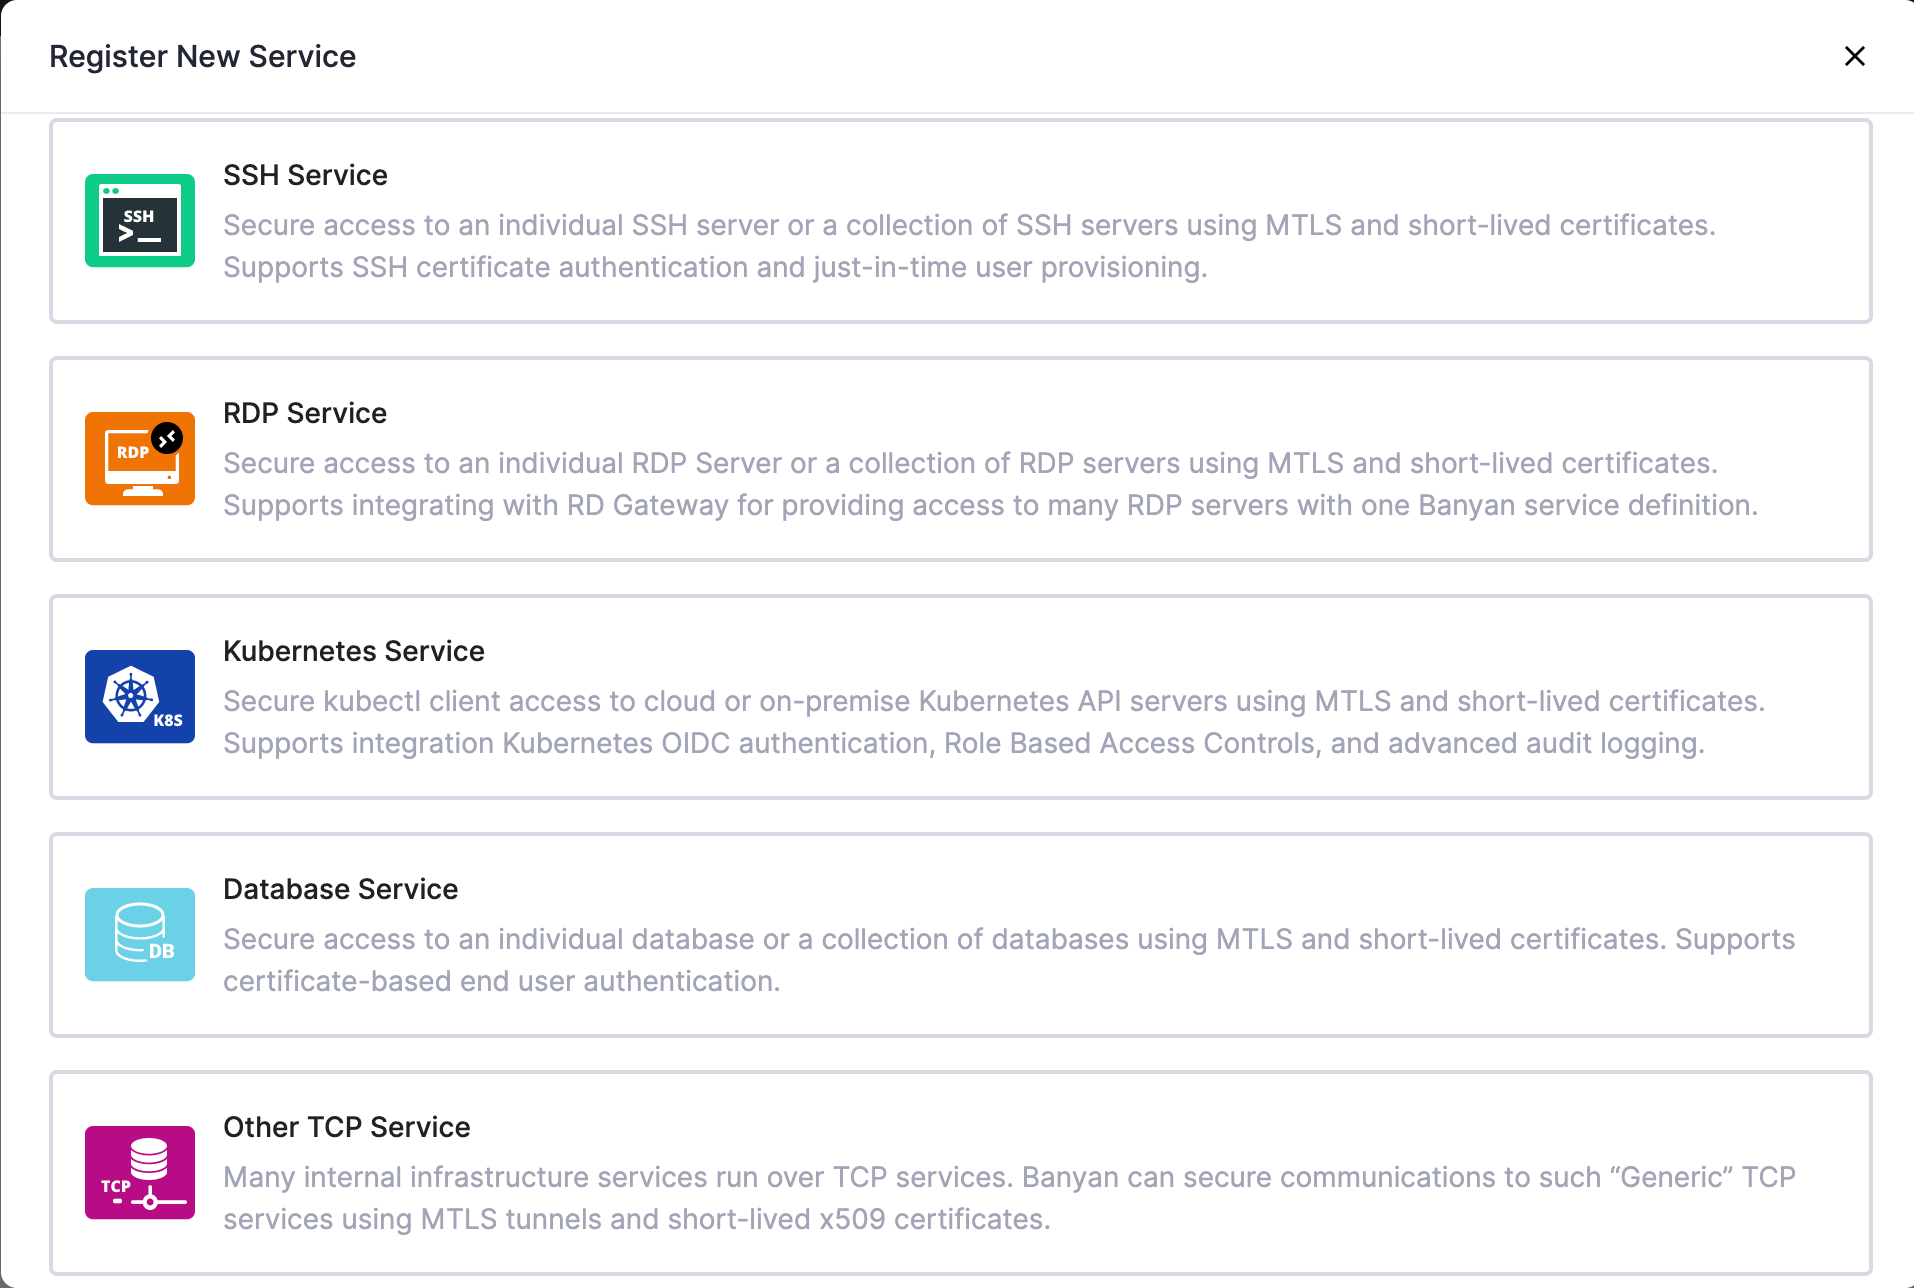
Infrastructure policies define user access to any infrastructure service defined within Banyans Command Center. This includes the following types of services: SSH services, RDP Services, Kubernetes Services, Database Services, and TCP Services.
Infrastructure policies are assigned to infrastructure services, and one infrastructure policy can apply to multiple infrastructure services. These policies allow the admin to segment access based on different roles with varying trust levels. Unlike web policies and tunnel policies, infrastructure policies do not support access groups.
Create an Infrastructure Policy
To create an Infrastructure Policy, complete the following steps:
1. Navigate from Private Access > Access Policies, and then select + Create Policy.
2. Select the Infrastructure Policy template.
3. Under the Policy Details section, configure the Policy Name and Description.
4. Select the Role(s) applicable to the access being defined.
5. Select the appropriate Trust Level.
6. Select Create Policy.
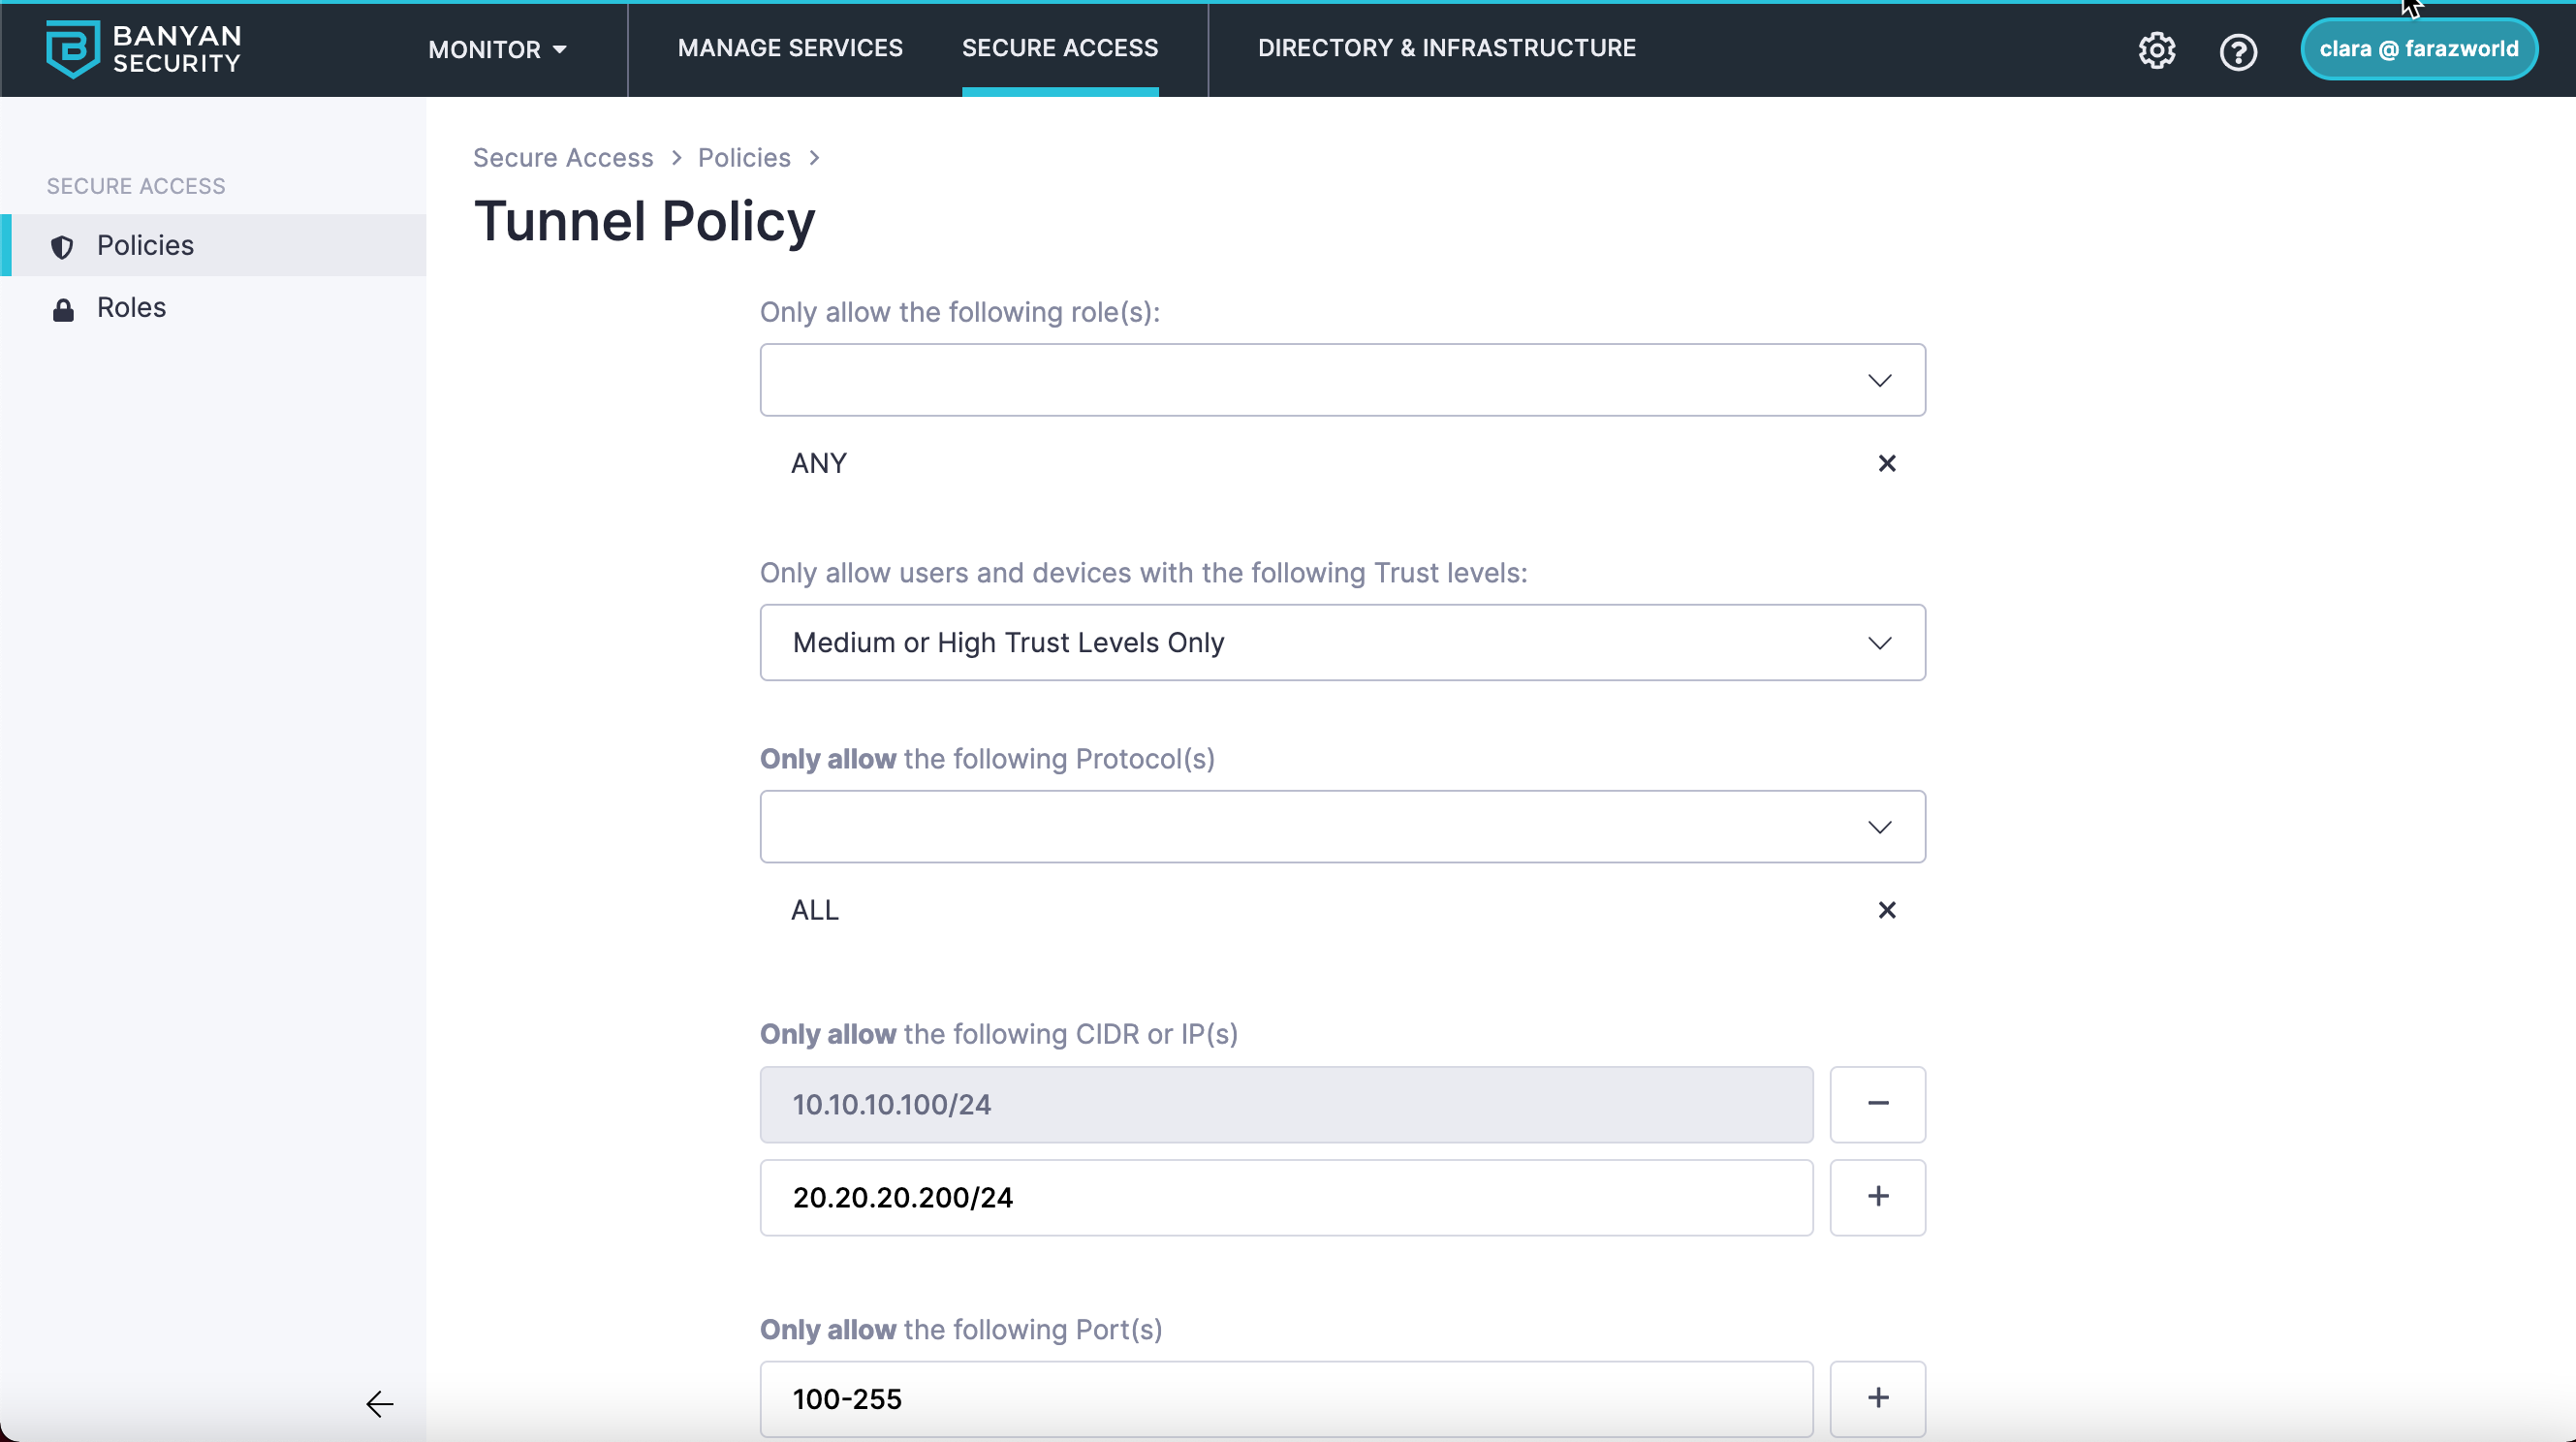
Tunnel Policies
Tunnel policies define user access to network locations based on CIDR ranges, ports, and protocols from a Service Tunnel.
Tunnel policies are assigned to Service Tunnels, and one tunnel policy can apply to multiple Service Tunnels. These policies allow admins to segment access based on role and trust level. A tunnel policy must have at least one access group, but there is no upper limit to the number of access groups that can be contained within a tunnel policy.
Access Groups in Tunnel Policies
Access groups within one tunnel policy are additive (i.e., they stack), but any rules denying access take precedence over rules allowing access within that particular access group. For example, here are two access groups:
Access Group 1:
Access Group 2:

If a user meets the Role ANY and DEVELOPER with a Medium or High Trust Level, then they will be allowed network communication on the following ports:
10.10.10.100/18all ports20.20.20.200/24on100-255ports
However, they will be denied access on the following ports:
10.10.10.100/24on200-255ports, forTCPprotocol only
Create a Tunnel Policy
To create a Tunnel Policy, complete the following steps:
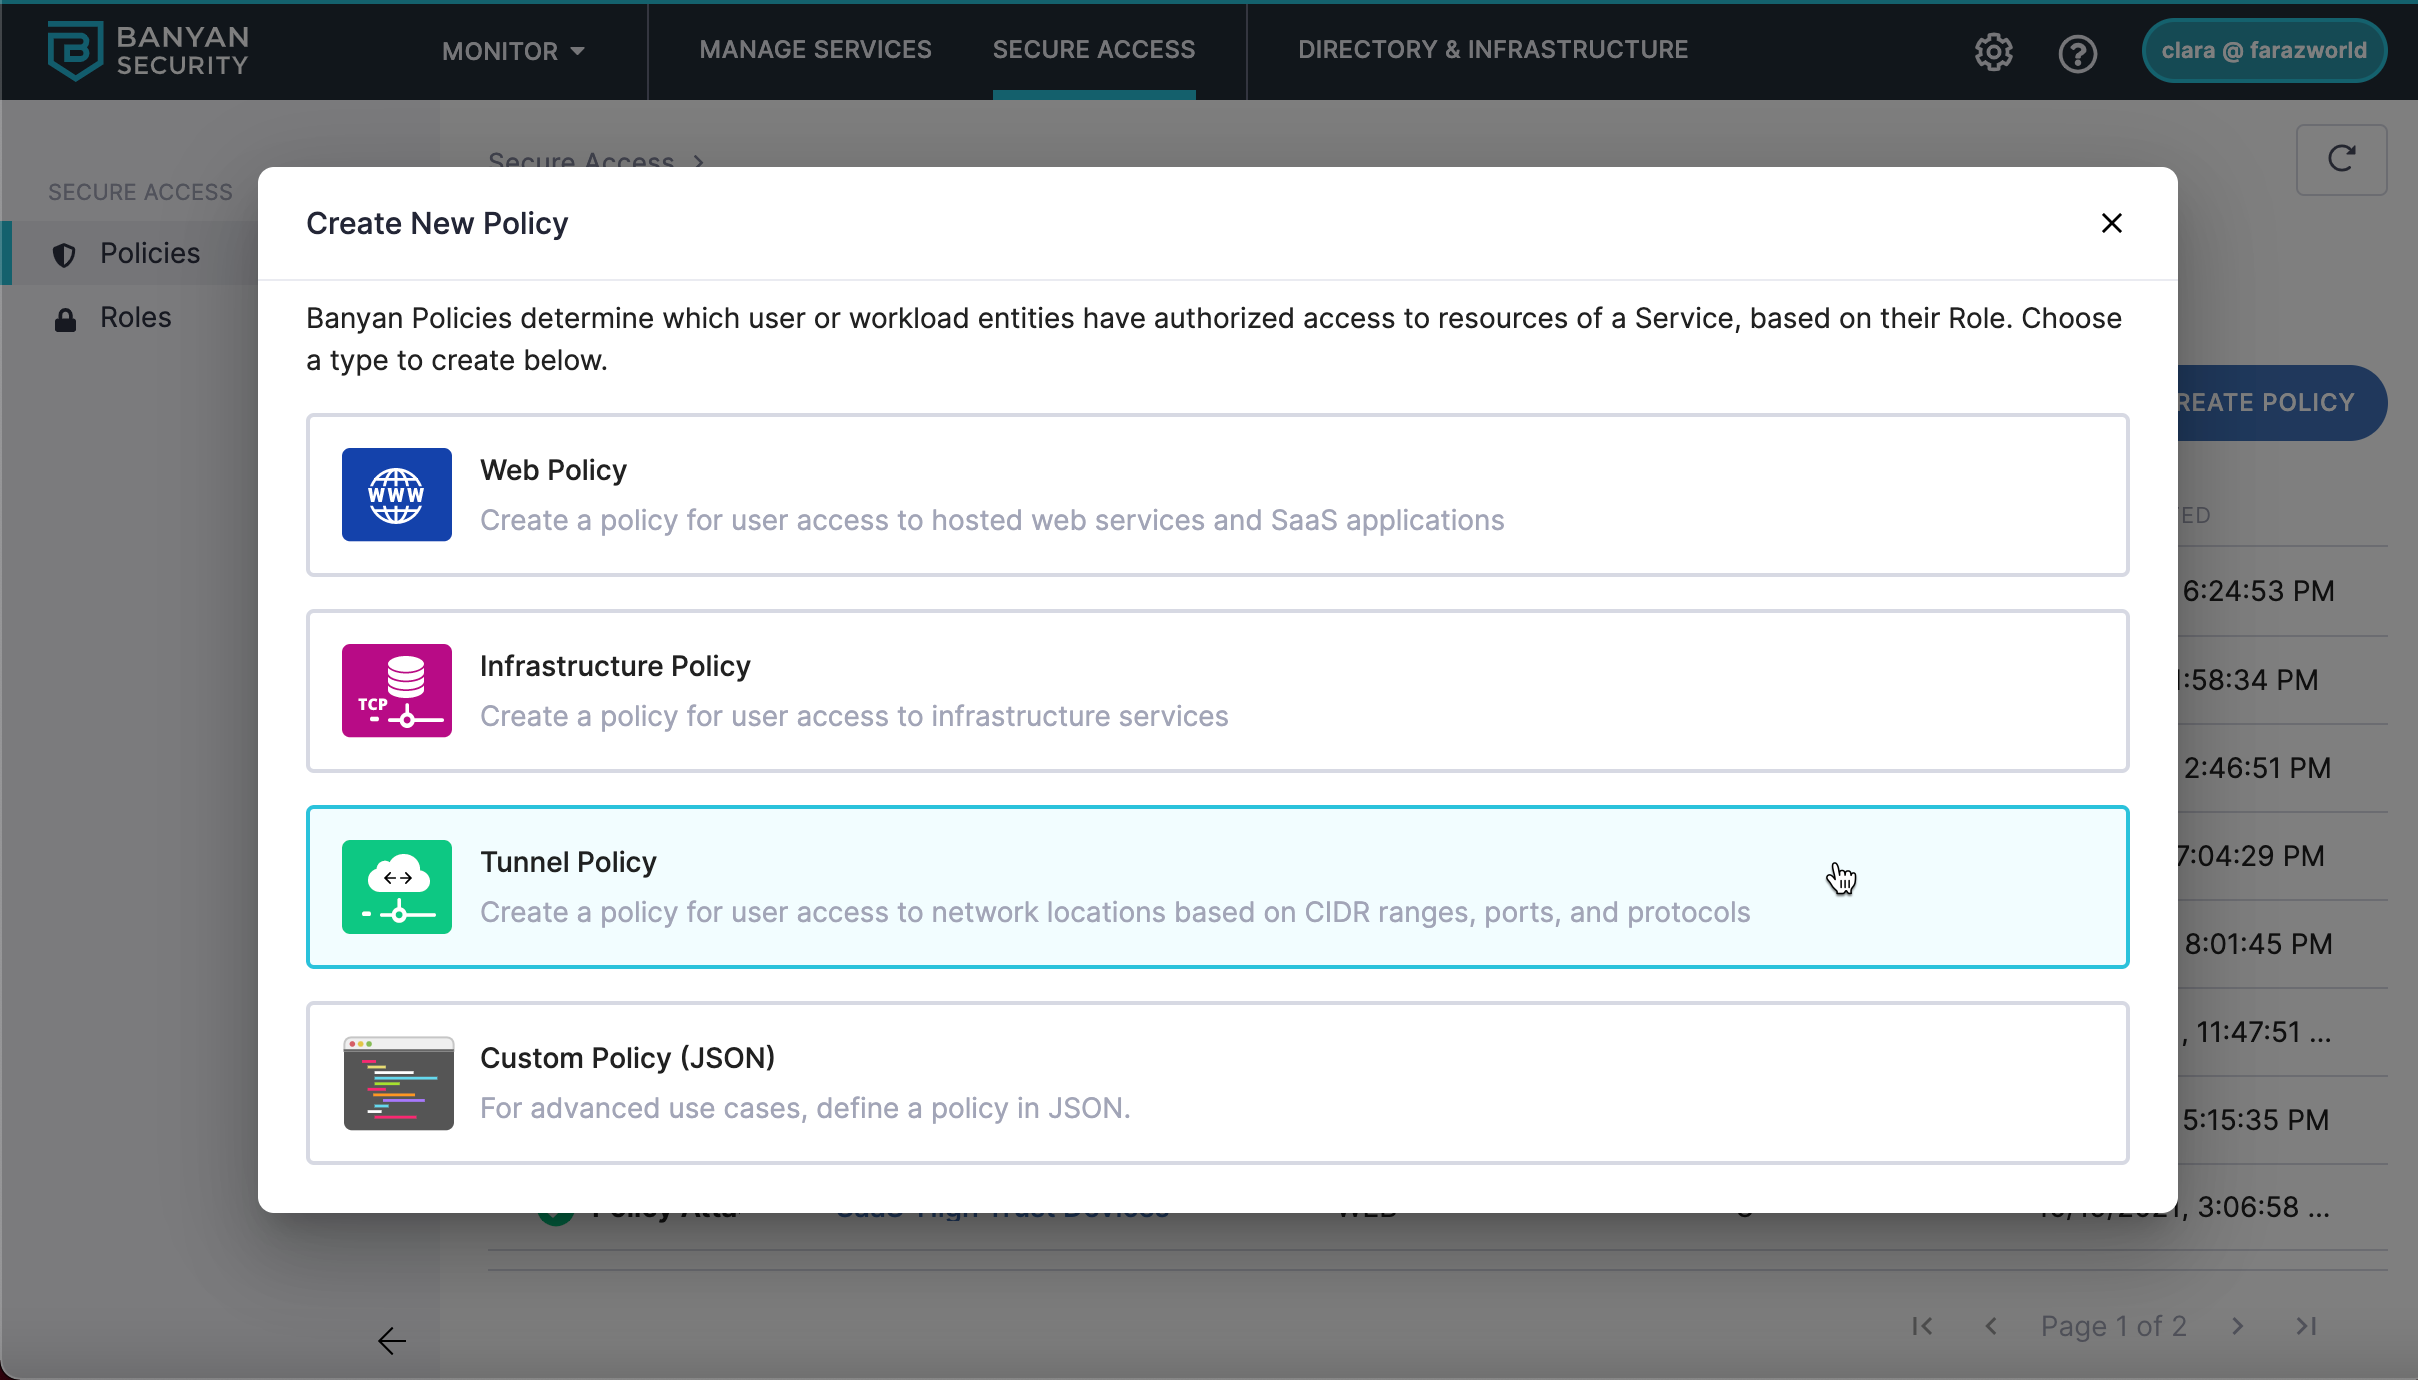
1. Navigate from Private Access > Access Policies, and then select + Create Policy.
2. Select the Tunnel Policy template.
3. Under Policy Details, configure the Policy Name and Description.
4. Complete the following steps for each Access Group:
4.1 Select the Role(s) applicable for the access being defined.
4.2 Select the appropriate Trust Level.
4.3 Under Only allow the following Protocol(s), select which protocols are allowed for the Access Group.
4.4 Under Only allow the following CIDR(s), define the CIDRs that are allowed for the Access Group.
Note: Each CIDR needs to be written on a new line. Select + to add a new line.
4.5 Under the Only allow the following Port(s), define the ports that are allowed for the Access Group.
Note: (i) Each port will need to be written on a new line. Use + to add a new line. (ii) Using * indicates “all ports”. (iii) Using a - between two ports indicates “all ports between and including the ports entered”. (iv) Ports can be entered individually.
4.6 Select Add exceptions (DENY rules) for Protocols, CIDRs, and Ports to define the exceptions to the CIDR blocks identified in the Access Group. Deny rules are explained in more detail below.
4.7 Select New Access Group to add another Access Group.
4.8 Select Create Policy.
Deny Rules
Deny rules are used to prevent users from accessing a specific subset of a network, defined by the rule. By default, users are denied access to any service fronted by the Service Tunnel. Admins must define a tunnel policy first.
When defining a tunnel policy, it may be necessary to deny specific IPs or ports. Within the access group, there is a checkbox to Add exceptions (DENY rules) for Protocols, CIDRs, and Ports. Protocols, CIDRs, and ports defined after selecting the checkbox must be a subset of the allow rules defined in the policy; otherwise, they will have no impact.
To create a deny rule for the access group, complete the following steps:
1. Select Add exceptions (DENY rules) for Protocols, CIDRs, and Ports
2. Under Except the following Protocol(s), select the Protocols to deny the Access Group.
3. Under Except the following CIDR(s), define the CIDRs to deny the Access Group.
4. Enter each CIDR on a new line (using the + button to add a new line).
5. Under the Except the following Port(s), define the ports to deny the Access Group.
6. Enter each port on a new line (using the + button to add a new line).
-
Using * indicates all ports.
-
Using a - between two ports indicates all ports between and including the ports entered.
-
Ports can be entered individually.
7. The deny Protocol(s), CIDR(s), and Port(s) can be combined to create one deny rule. Review the following deny rule as an example:
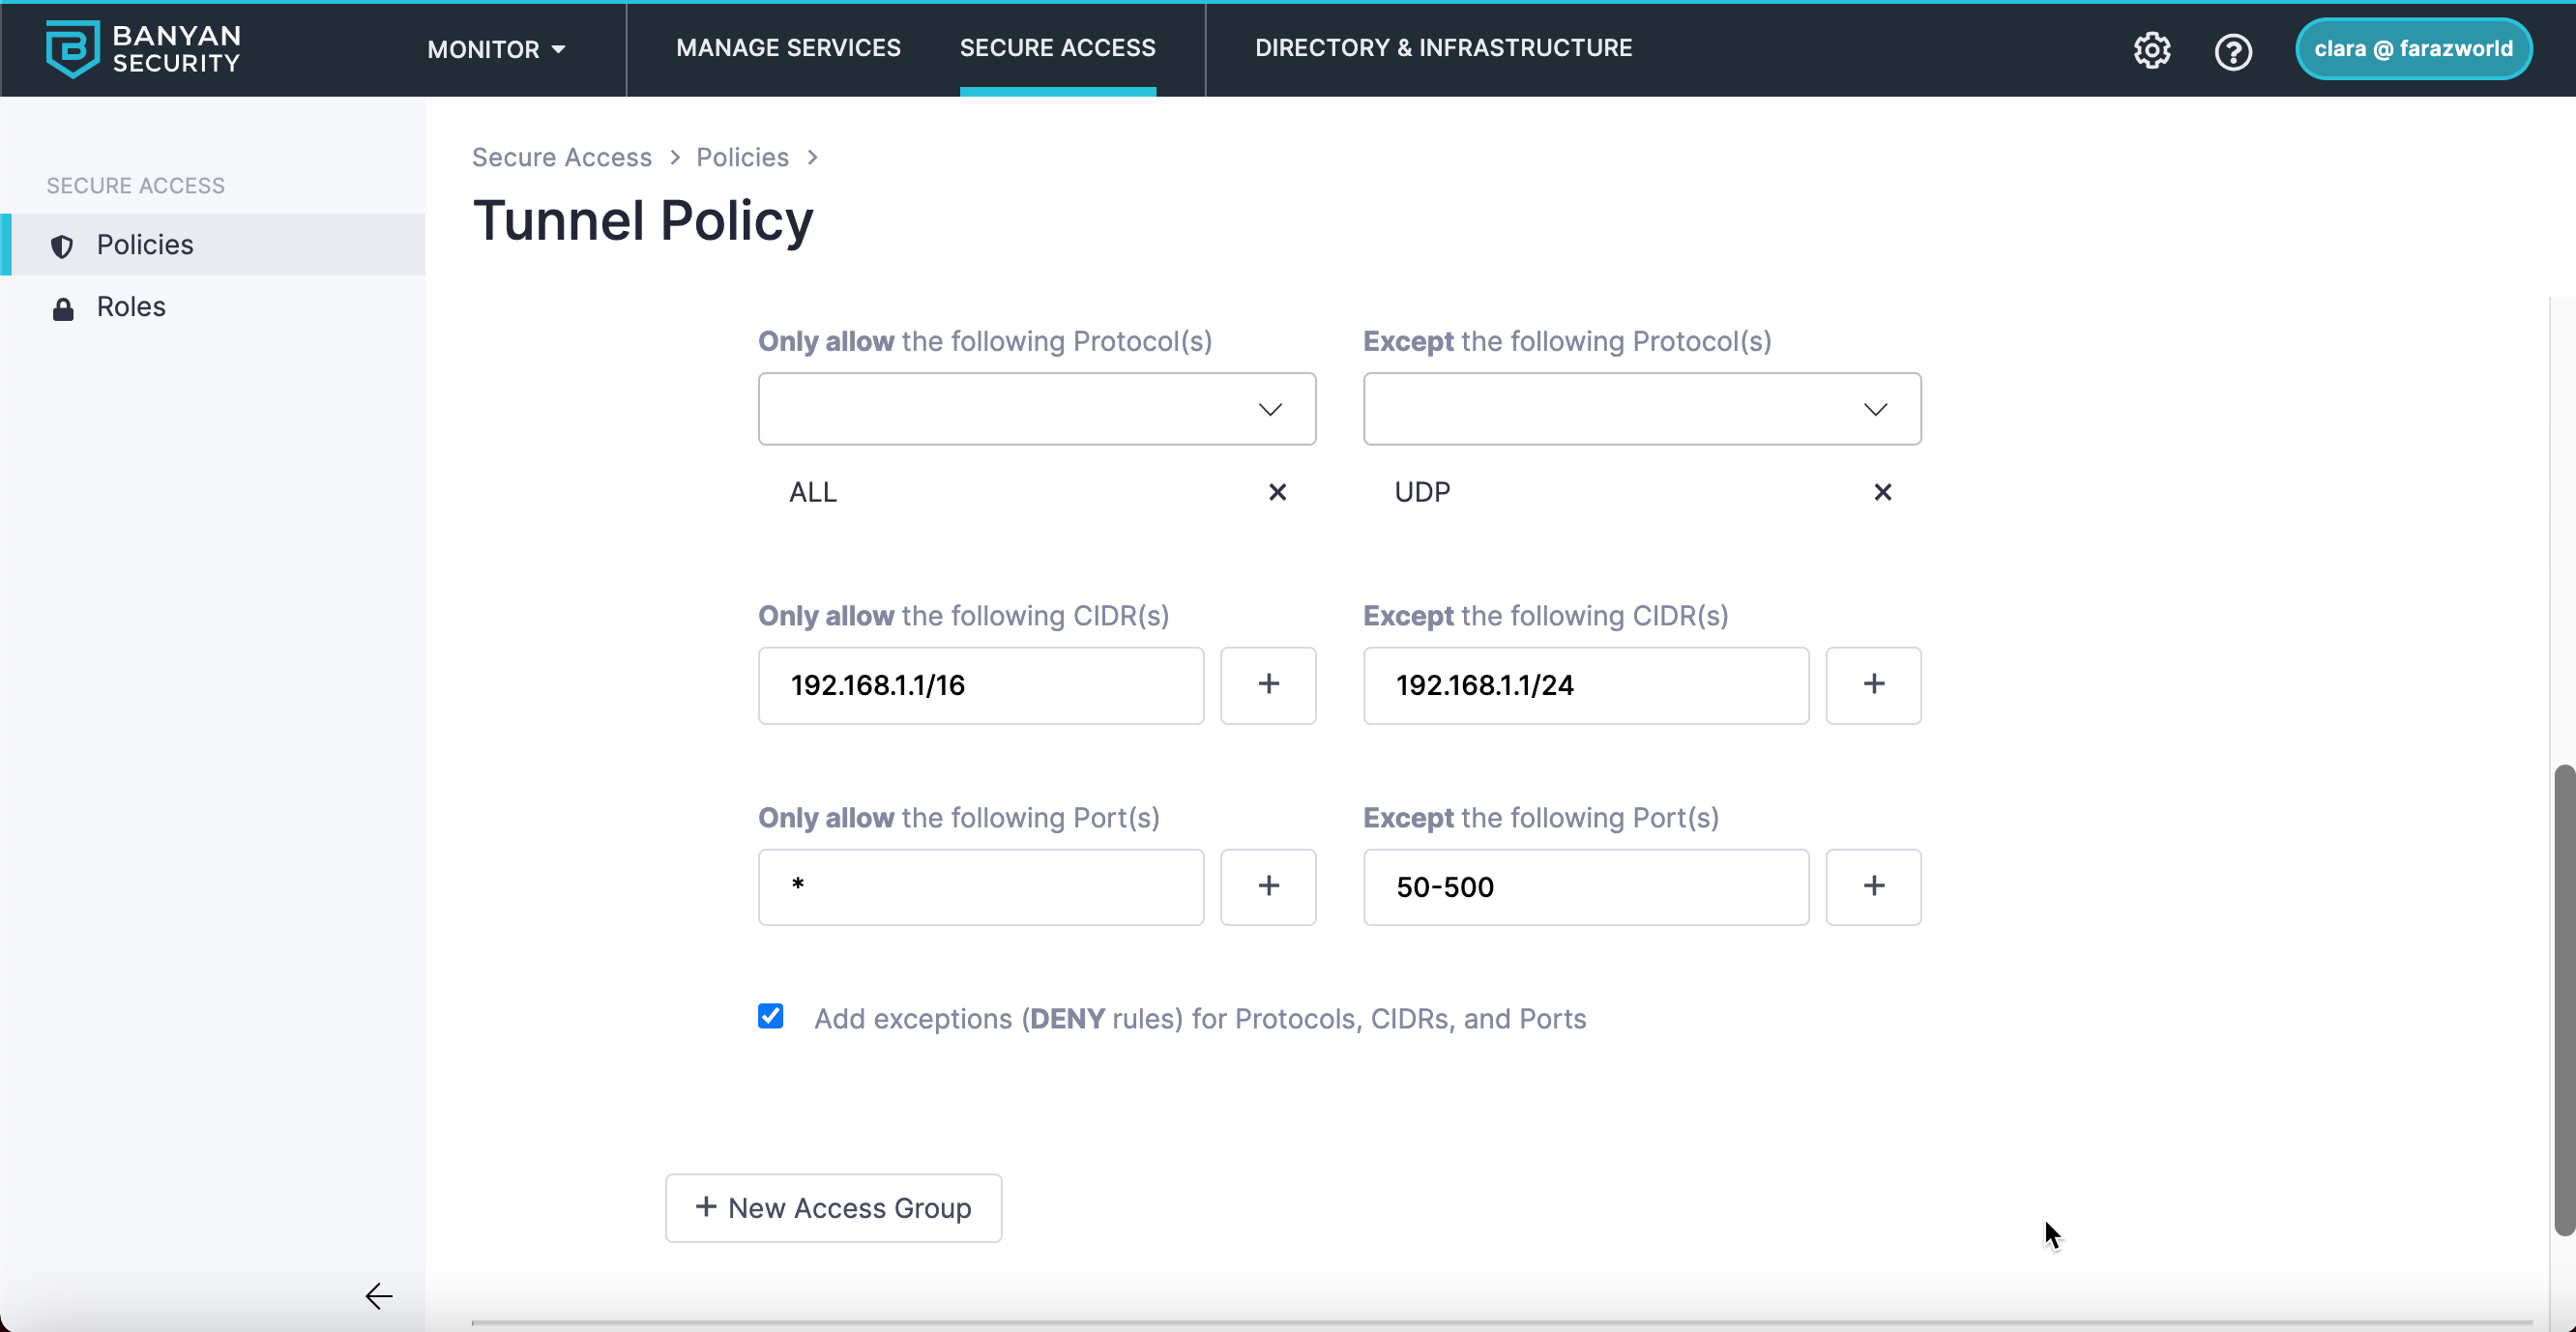
The Service Tunnel associated with this policy will allow all protocols that are supported within the CIDR range 192.168.1.1/16 on any port, except the UDP protocol for the CIDR 192.168.1.1/24 on ports 50-500 (inclusive).
If additional exceptions are needed, use the Custom JSON Policy template.
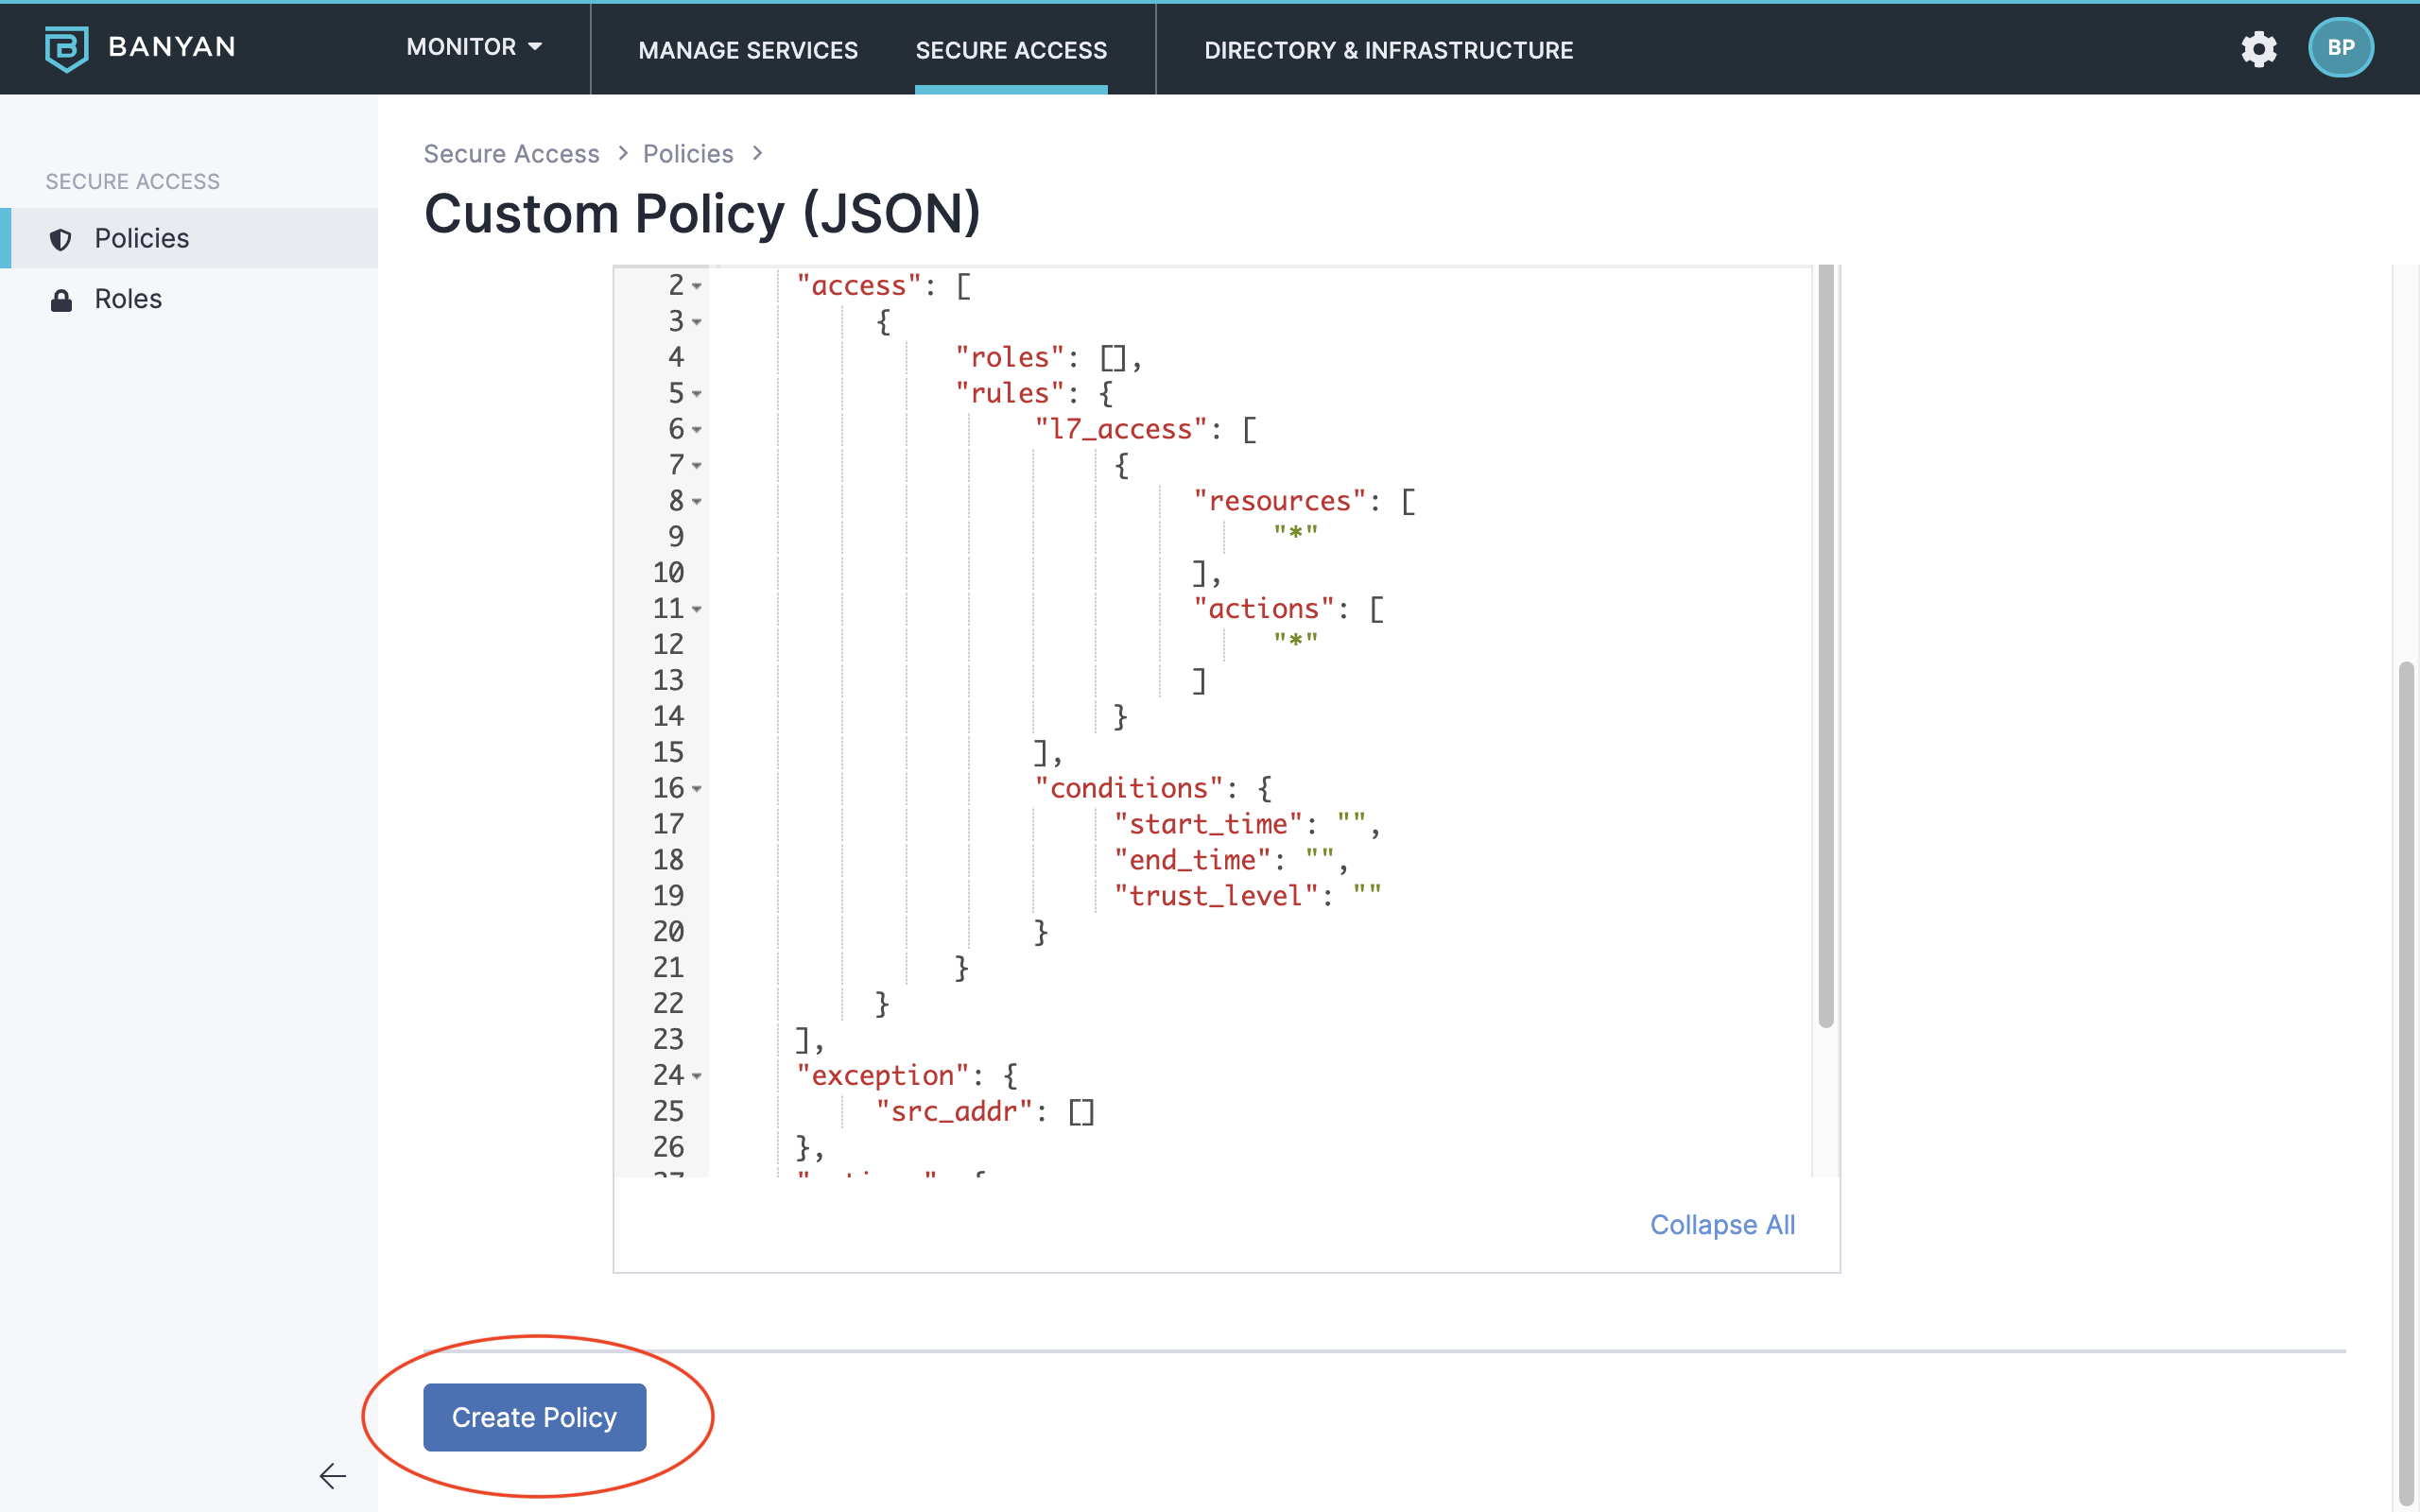
Custom Policies (JSON)
By creating a Custom Policy, you can further control specific resources and accessing entities in your organization, such as API-level policies, and multiple Access blocks in a single policy definition.
To create a Custom Policy, complete the following steps:
1. Navigate from Private Access > Access Policies, and then select + Create Policy.
2. Select the Custom Policy (JSON) template.
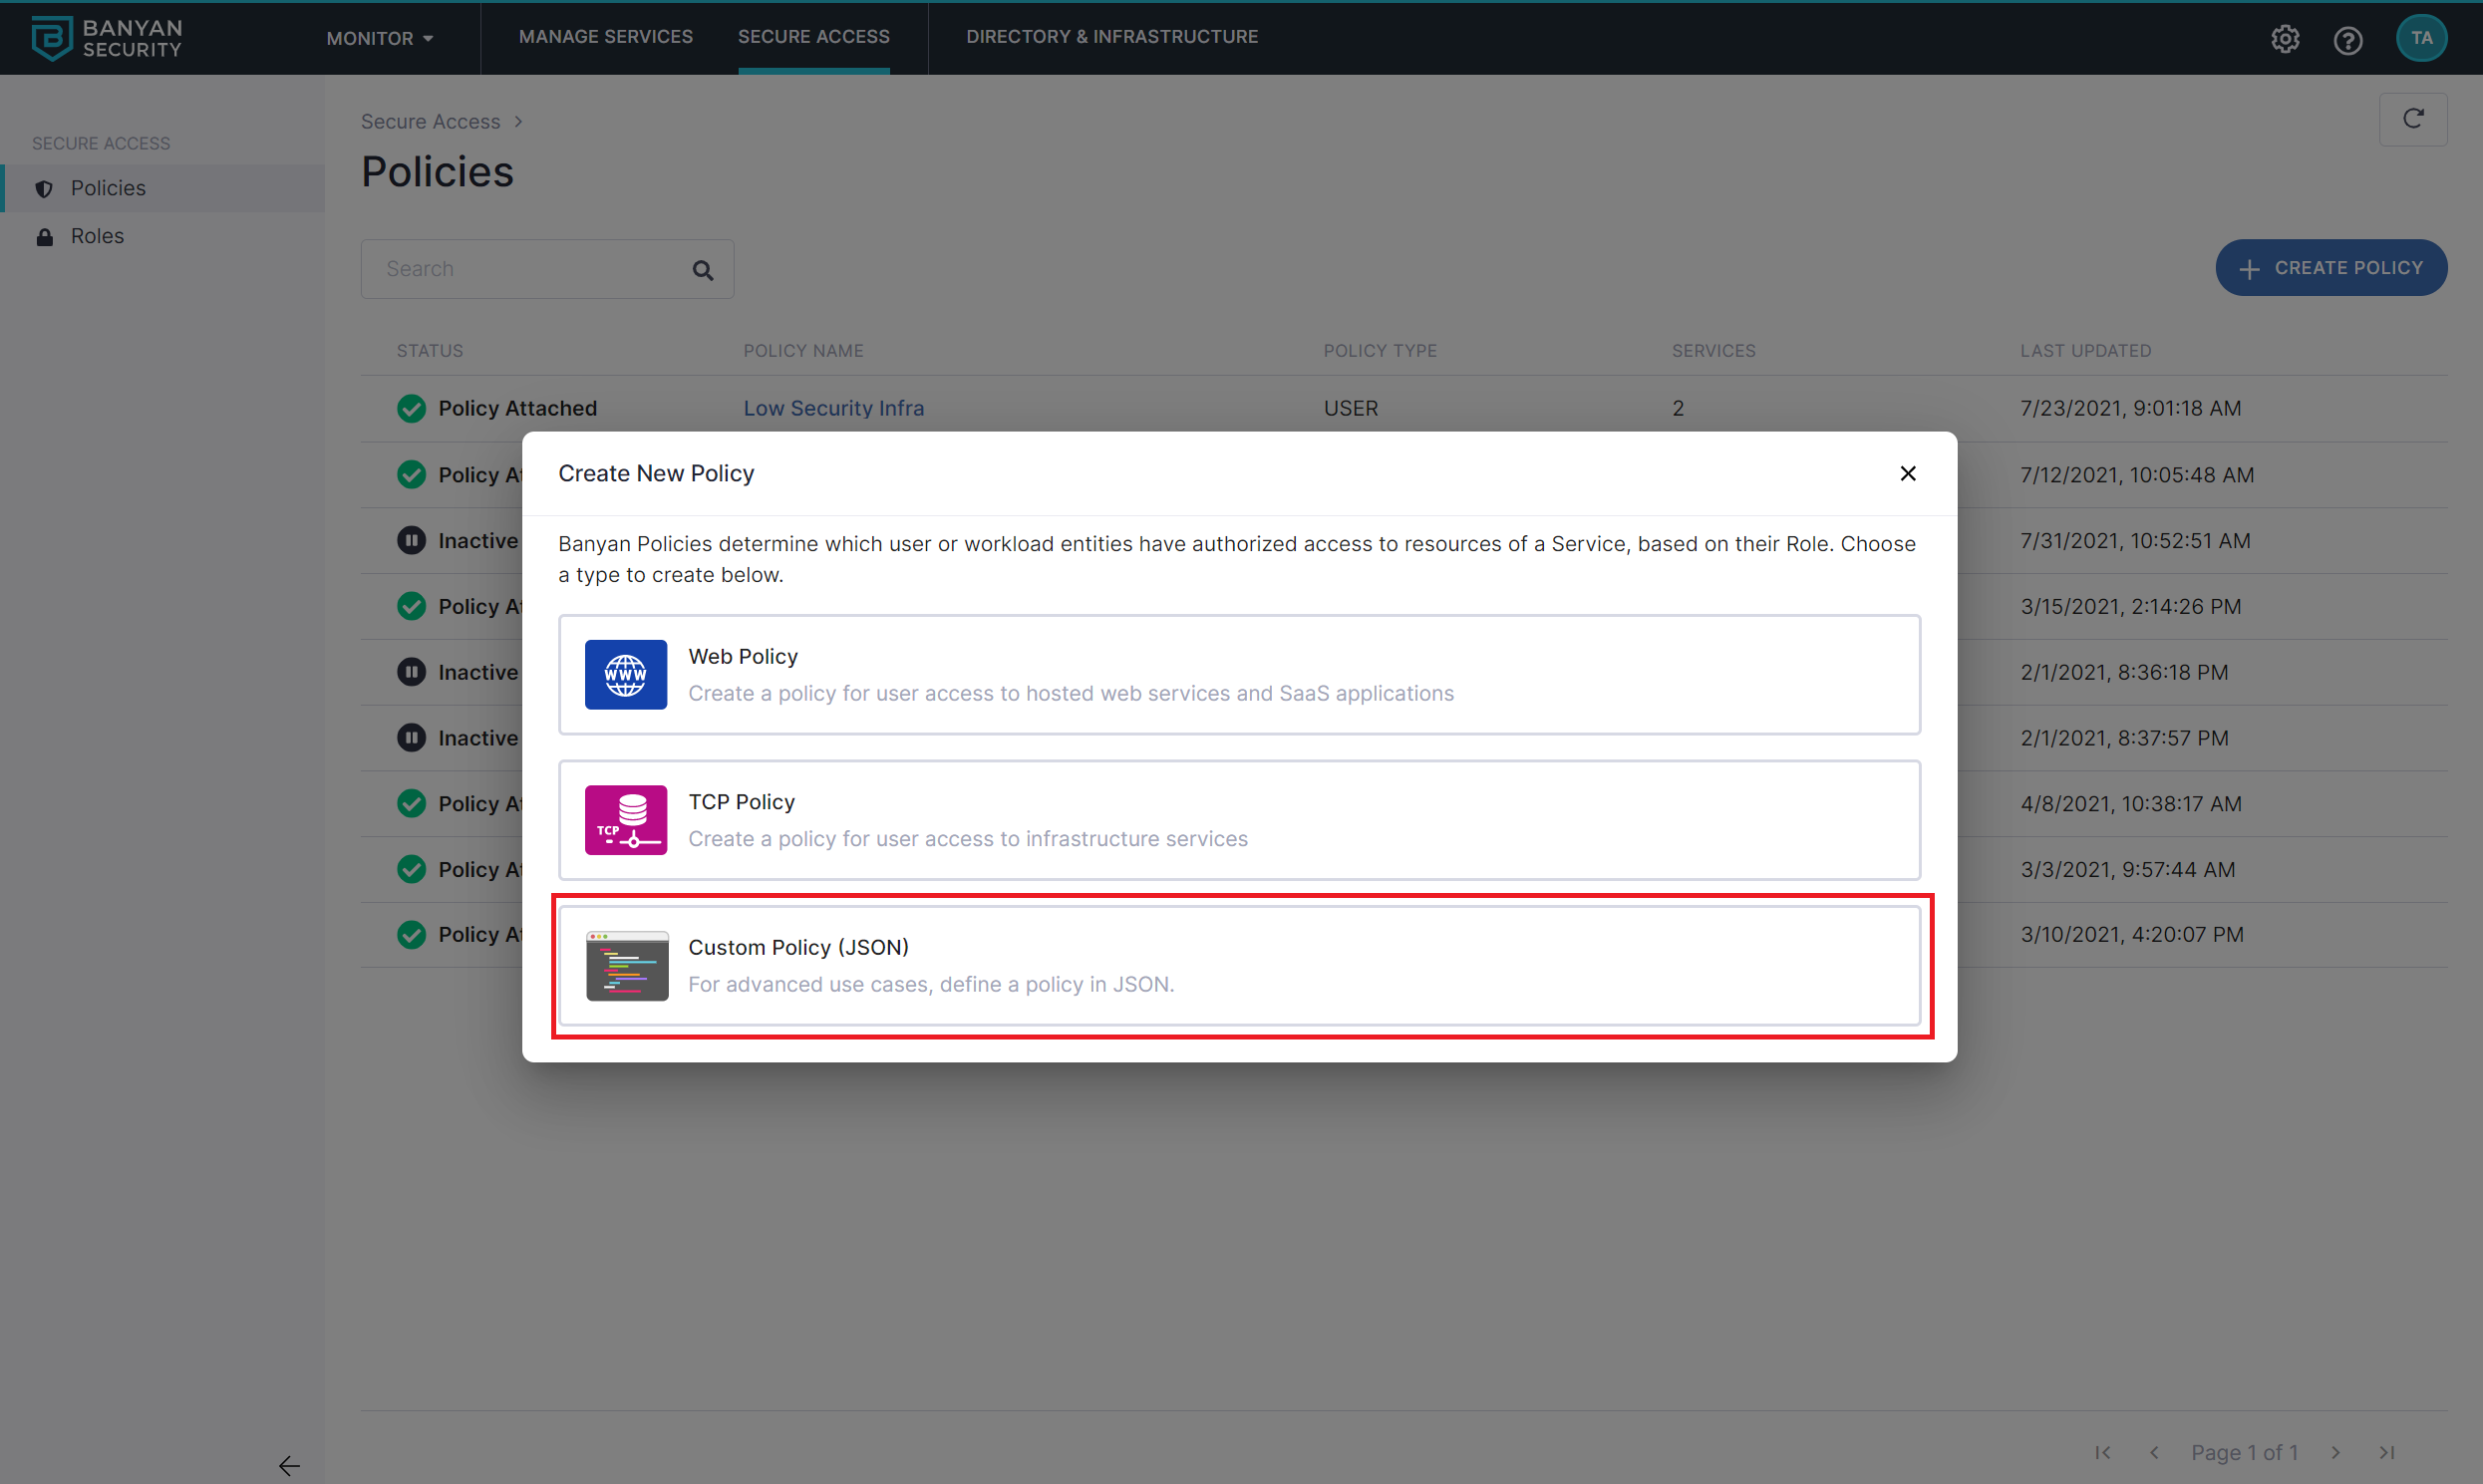
3. Configure the Policy Name, Description, and Policy Attributes.
Please refer to the Policy Spec for details on Policy Attributes.
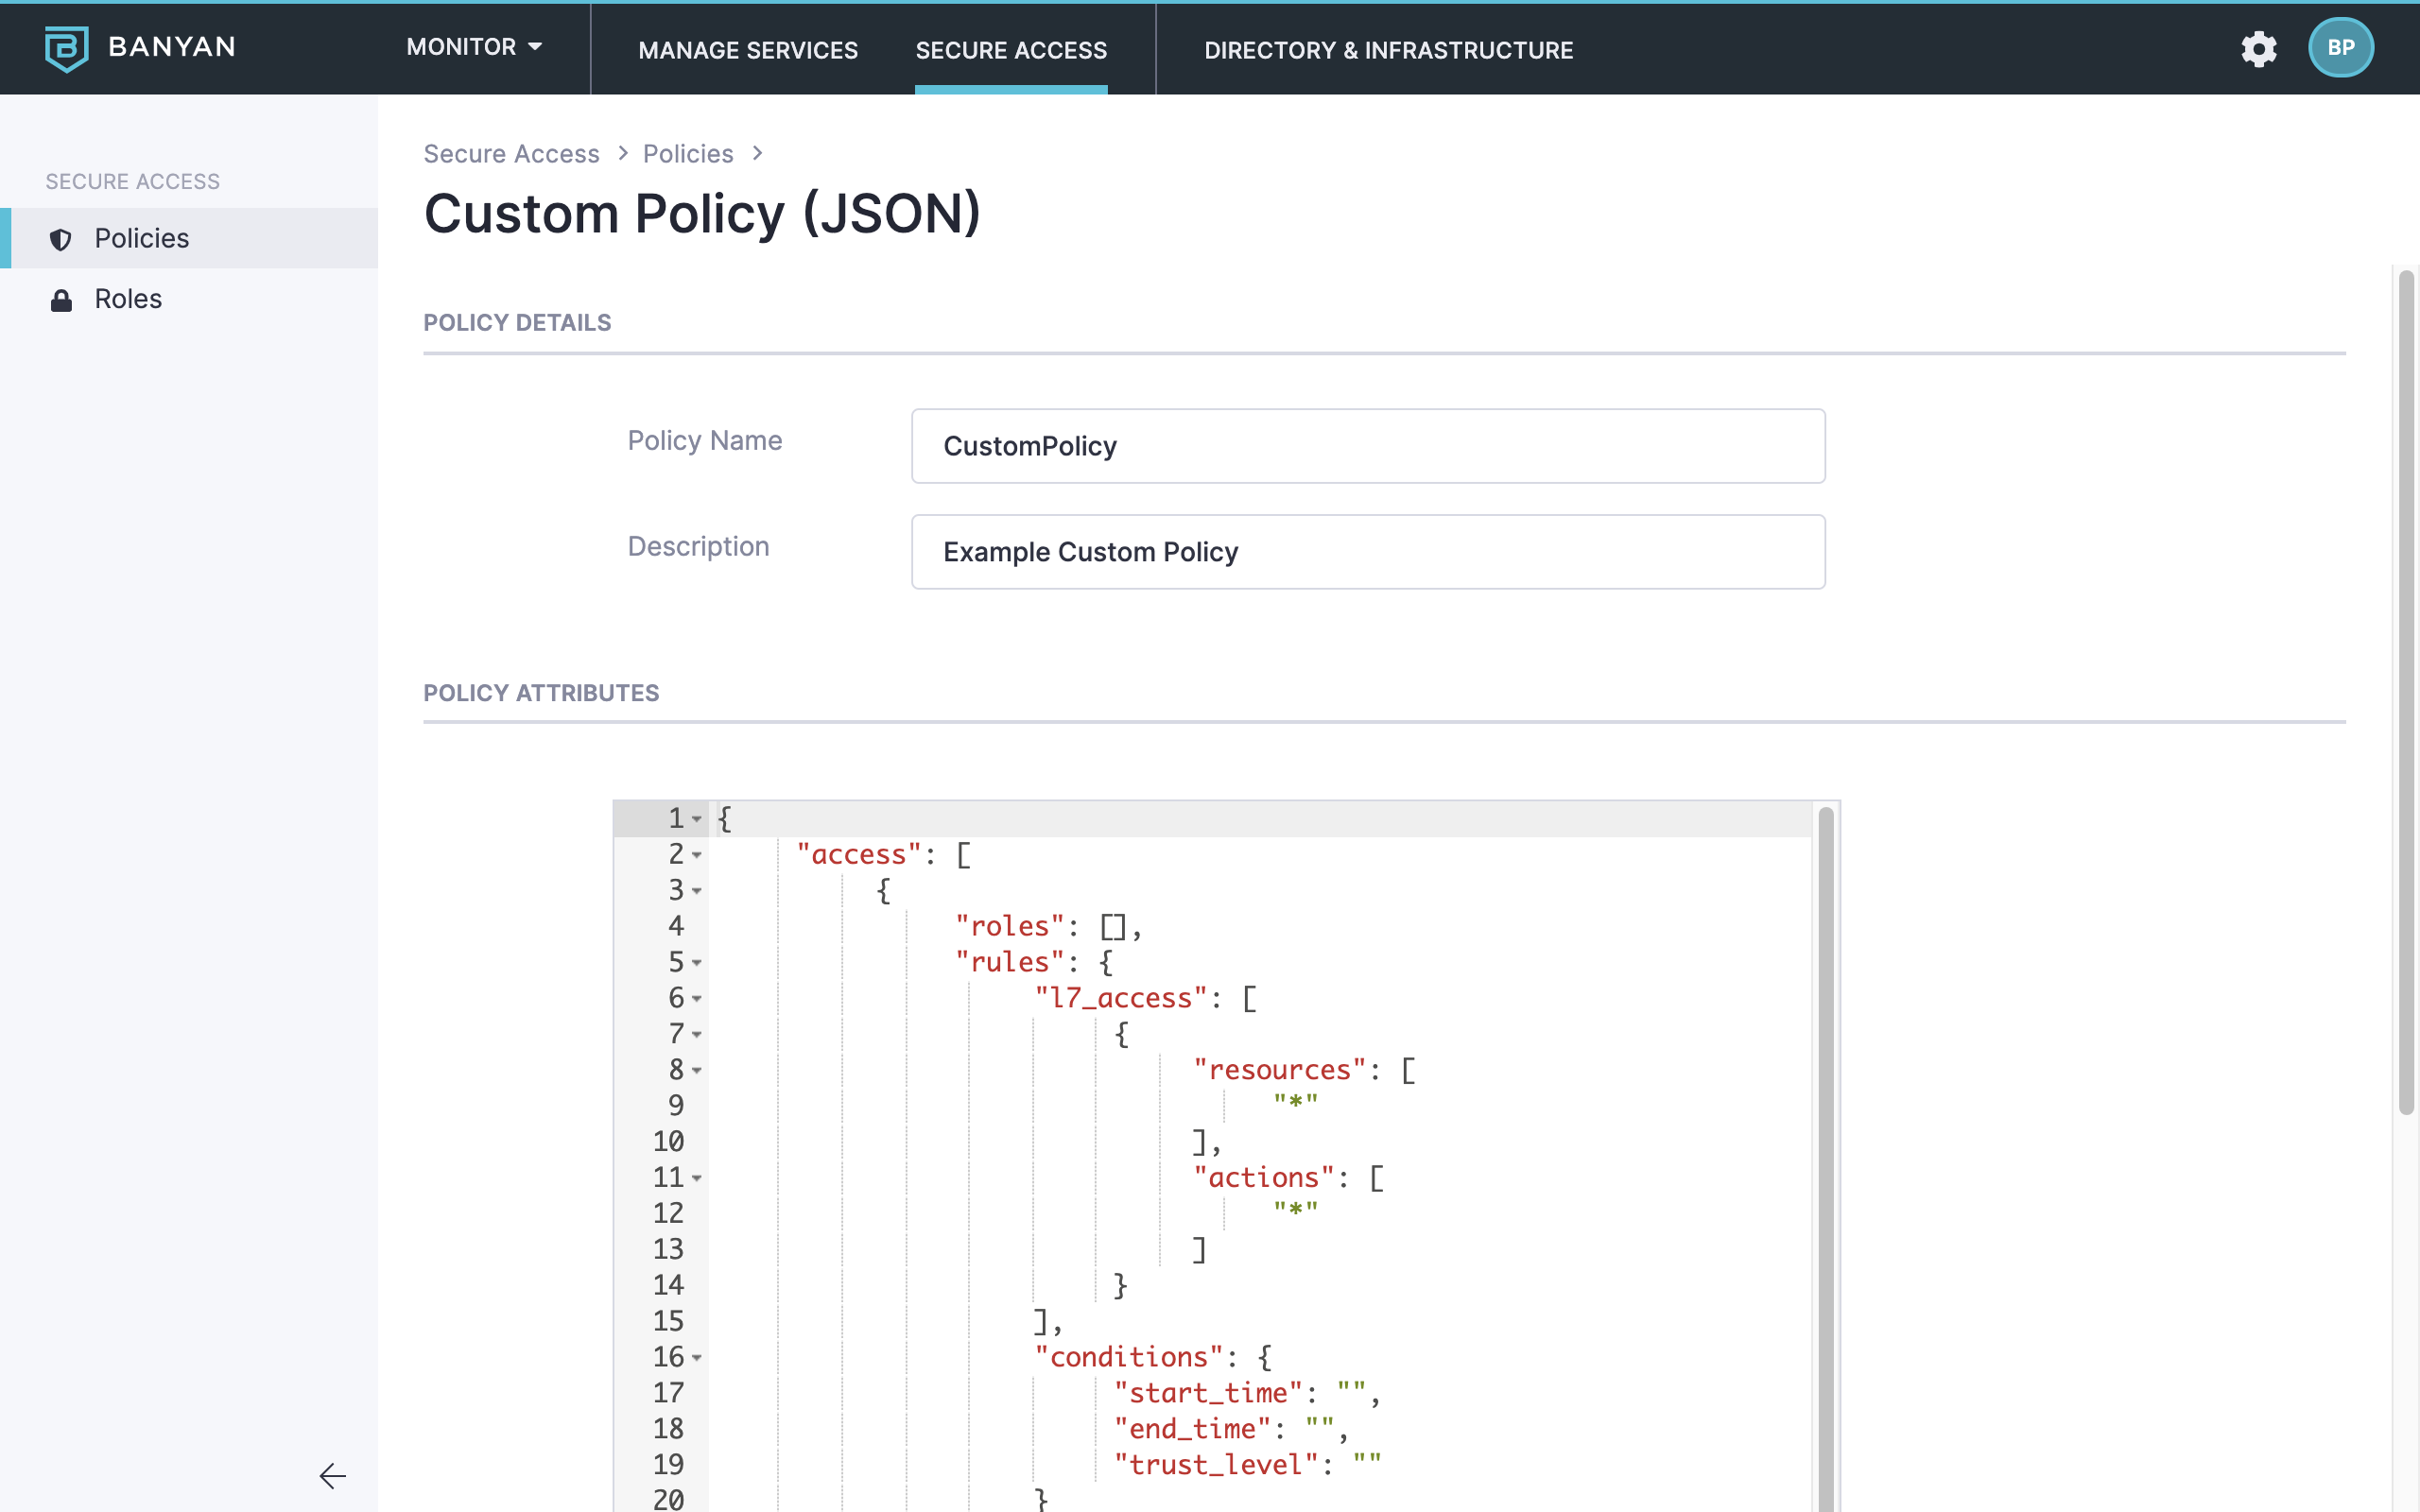
4. Select Create Policy.
Sections
Can’t find what you’re looking for?
We’re happy to help. Contact our team.